How to Access Your Virtualmin Control Panel
Follow the steps below to log in and start managing your websites.
1. Locate Your Credentials
After your purchase is completed, check your registered email or your client portal for the following details:
-
Server IP Address: (e.g.,
117.252.16.61) -
Root Password: (This is the default VPS password provided in your welcome email).
2. Access the Login URL
Open your web browser (Chrome, Firefox, or Edge) and enter your server IP followed by port :10000 in the address bar:
URL Format:
https://your_server_ip:10000
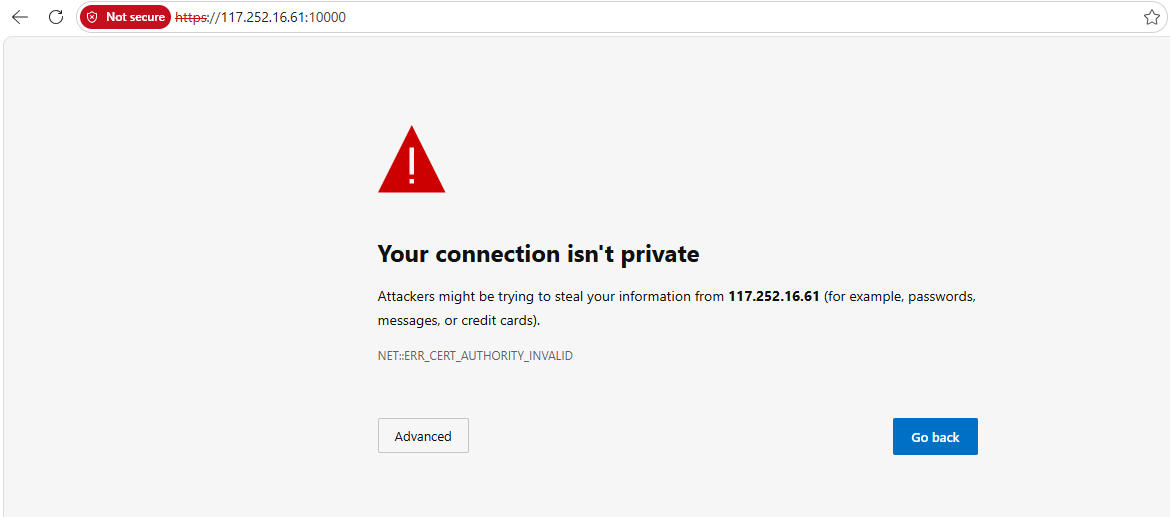
3. Handling the "Not Secure" Warning
Because your server uses a self-signed SSL certificate out of the box, your browser will show a warning saying "Your connection is not private" or "Not Secure."
Don't worry, this is normal for a fresh installation. To proceed:
-
Click on the Advanced button.
-
Click the link that says "Proceed to [your IP] (unsafe)".
-
Once you are inside Virtualmin, you can install a free Let's Encrypt SSL to remove this warning

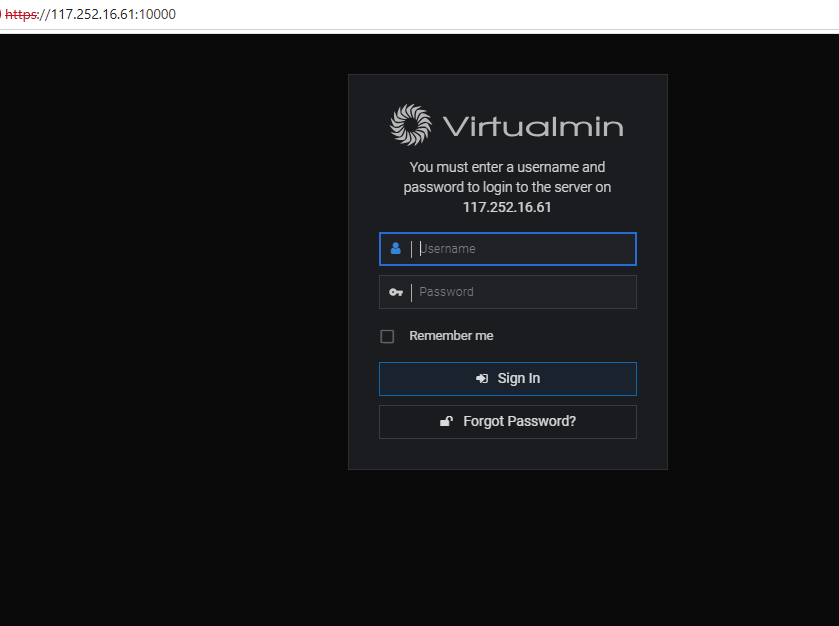
4. Logging In
Once the login screen appears (as shown in the image below), enter the following:
-
Username:
root -
Password: [Your VPS Default Password]
Click Sign In.
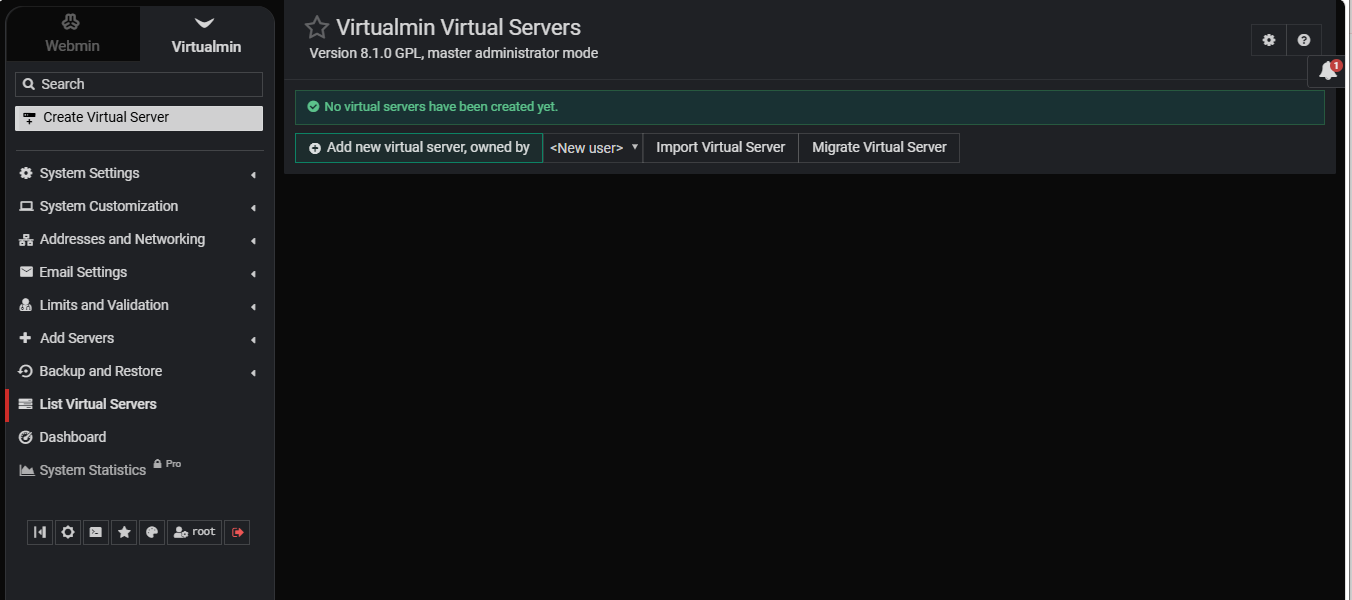
5. Post-Installation Wizard
The first time you log in, Virtualmin will walk you through a Post-Installation Wizard.
-
We recommend following the prompts to optimize your memory and database settings.
-
If you have a low-RAM VPS (under 2GB), choose the "Minimal" configuration options when prompted.
