This guide explains how to set up and access your n8n instance for the first time.
1. Initial Access
To access your n8n dashboard, open your web browser and enter your server's IP address:
URL: http://[Your_Server_IP]
Note: If you see a "Not Secure" warning in your browser, this is expected as you are accessing the server via its IP address before an SSL certificate is configured. You may safely proceed to the site.
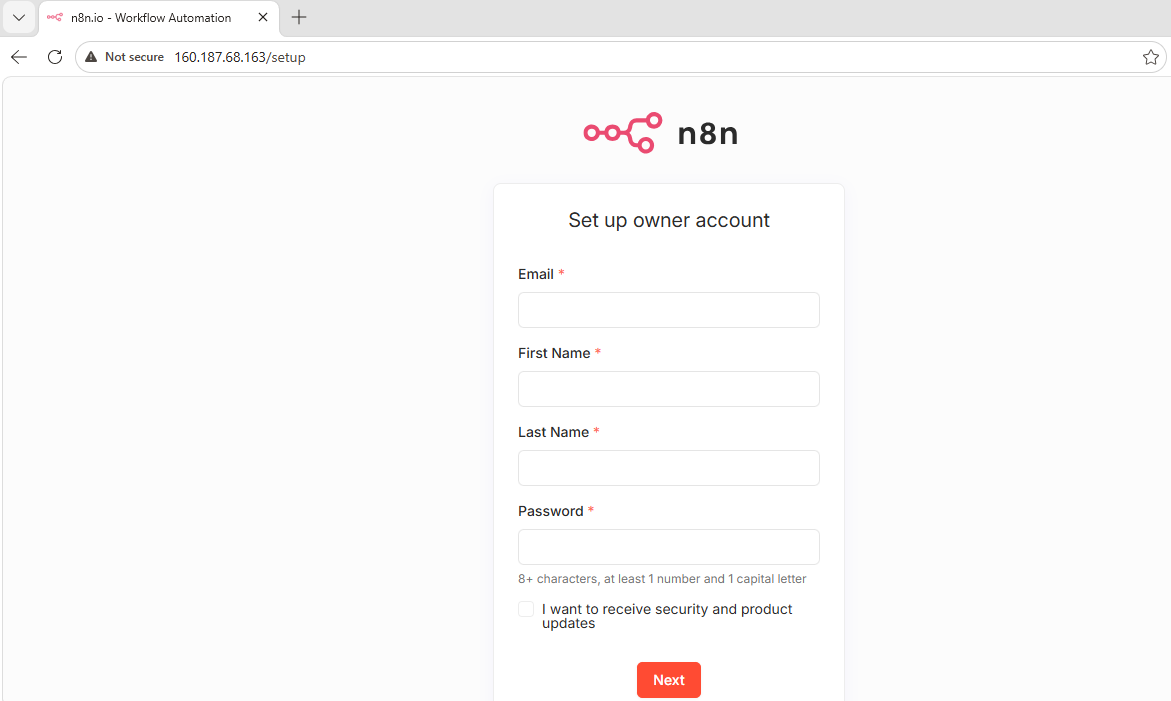
2. Create Owner Account
Upon your first visit, you will be prompted to set up the Owner Account. This is the primary administrator account for your automation server.
-
Email: Enter your professional email address.
-
Name: Enter your first and last name.
-
Password: Create a secure password (minimum 8 characters, including 1 number and 1 capital letter).
-
Click Next.
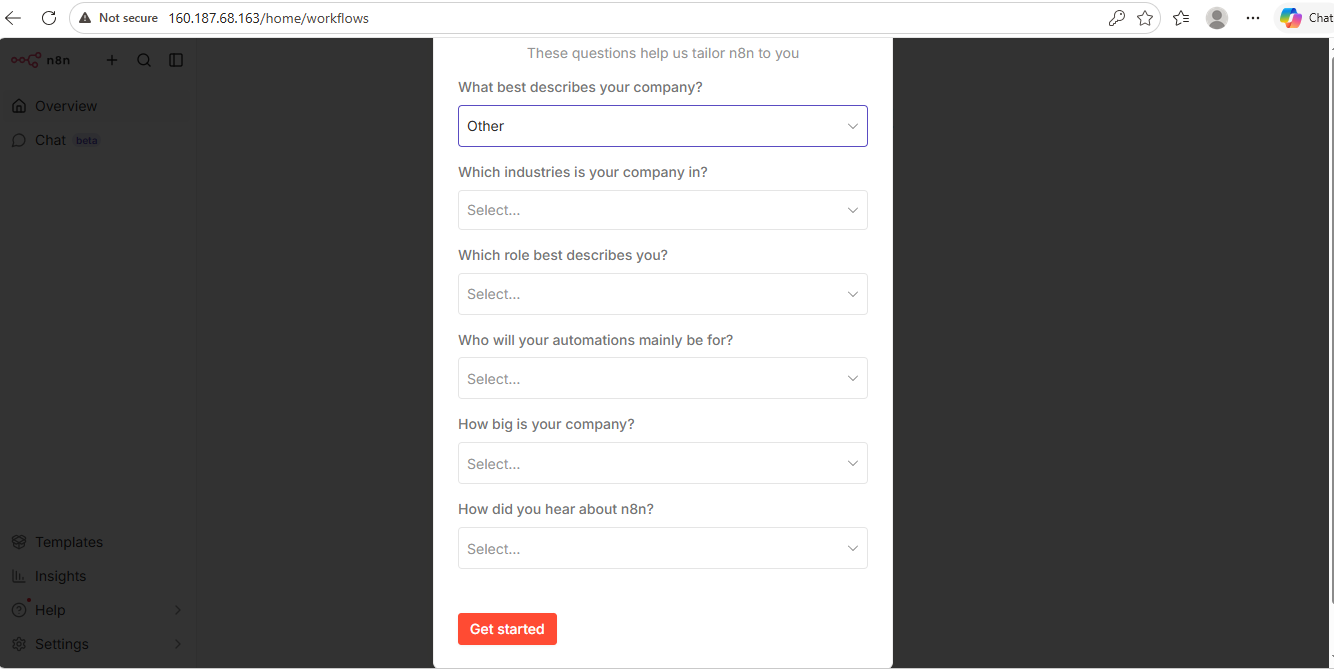
3. Personalize Your Experience
After creating your account, n8n will ask a few brief questions to tailor the interface to your needs (e.g., your industry and intended use cases).
-
Select the options that best describe your work.
-
Click Get Started.
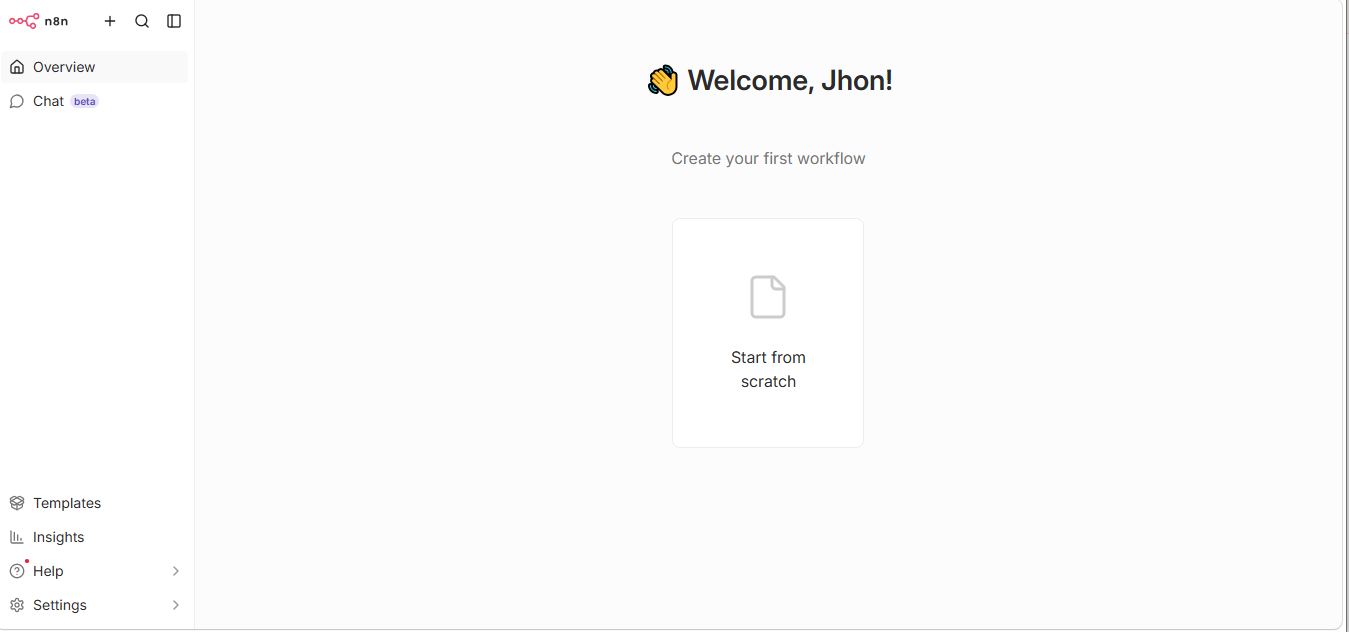
4. Main Dashboard
Once setup is complete, you will arrive at the main dashboard. From here, you can:
-
Click Start from scratch to build your first automation.
-
Browse Templates in the left sidebar to use pre-built workflows.
-
Access Settings to manage users, environments, and external integrations.
5. Security Recommendations
-
Set up SSL: We recommend pointing a domain name to your server IP and configuring SSL for a secure connection.
-
Backup: Regularly export your important workflows to ensure your data is safe.
Support: If you encounter any issues during the initial setup, please contact our support team via the client portal.
