This guide will walk you through the initial setup, how to access your dashboard, and how to create your first website.
Prerequisites
Before starting, ensure you have the following information, which was provided in your Welcome Email:
-
Server IP Address: (e.g., 127.0.0.1)
-
Initial Login Credentials (if applicable).
Step 1: Initial Admin Setup
When you first access your CloudPanel, you will be prompted to create your administrative user account. This is a one-time security procedure.
Open your web browser.
Navigate to your server’s control panel using the following URL (replace
YOUR_SERVER_IPwith your actual IP address):
https://YOUR_SERVER_IP:8443(Example:
https://127.0.0.1:8443)Note: You may receive a "Not Secure" warning in your browser because of the self-signed SSL certificate; this is normal for a fresh installation. Click "Advanced" and "Proceed" to continue.
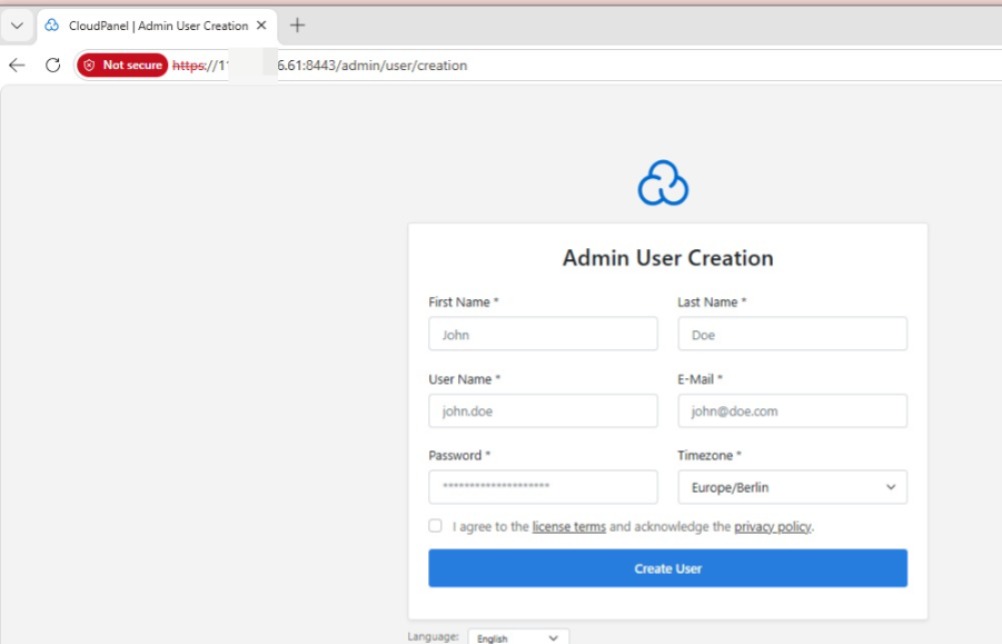
You will be redirected to the Admin User Creation page.
Fill in the required fields:
First Name & Last Name
User Name: Choose a secure username.
E-Mail: Use your preferred contact email.
Password: Create a strong password.
Timezone: Select your local timezone.
Check the box to agree to the license terms and privacy policy.
Click Create User.
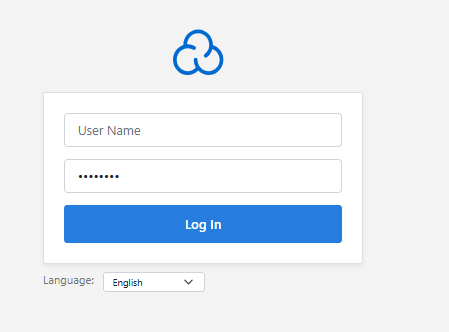
Step 2: Logging into CloudPanel
Once your admin user is created, you can access your dashboard anytime using your credentials.
-
Navigate to
https://YOUR_SERVER_IP:8443. -
Enter the User Name and Password you created in Step 1.
-
Click the Log In button.
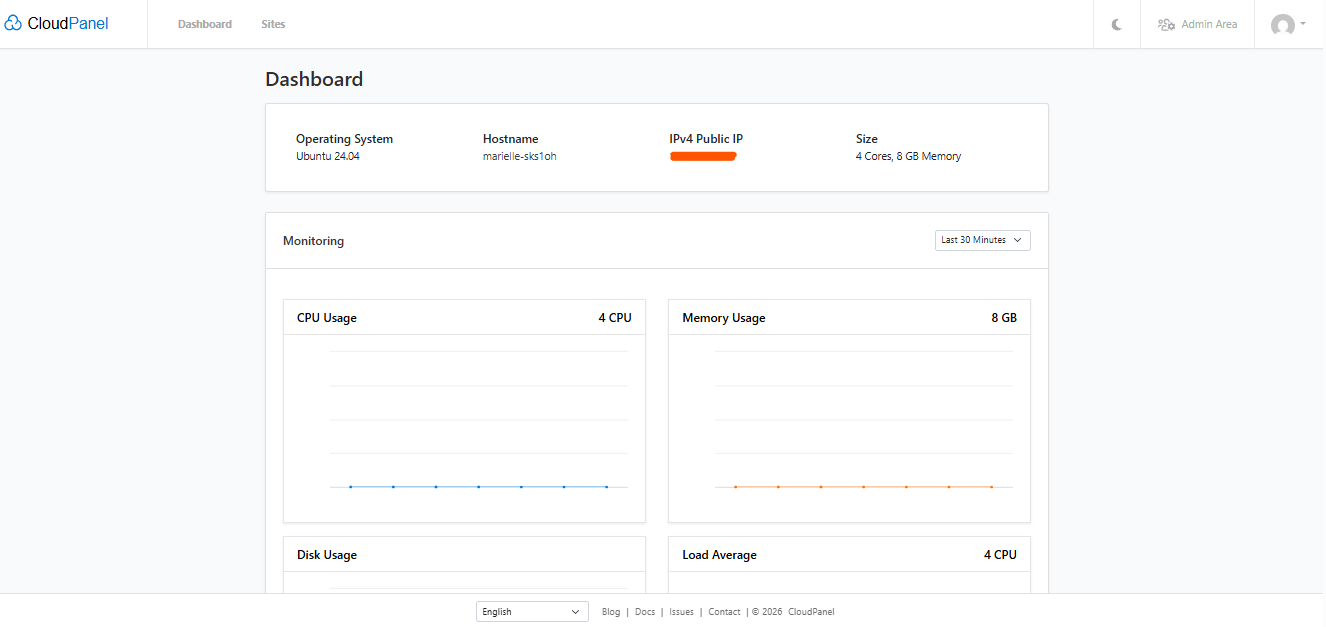
Step 3: Understanding the Dashboard
Upon logging in, you will be greeted by the Dashboard. This is your command center, where you can monitor your server's health. You can view real-time metrics for:
-
CPU Usage
-
Memory Usage
-
Disk Usage
-
Load Average
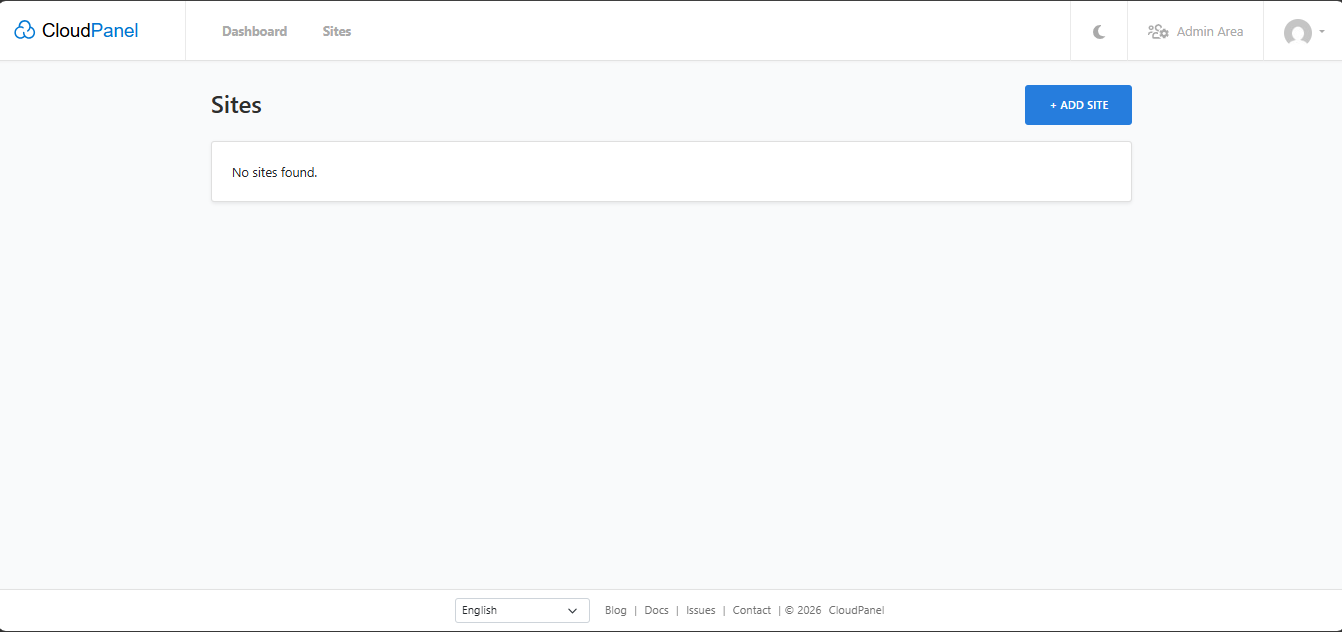
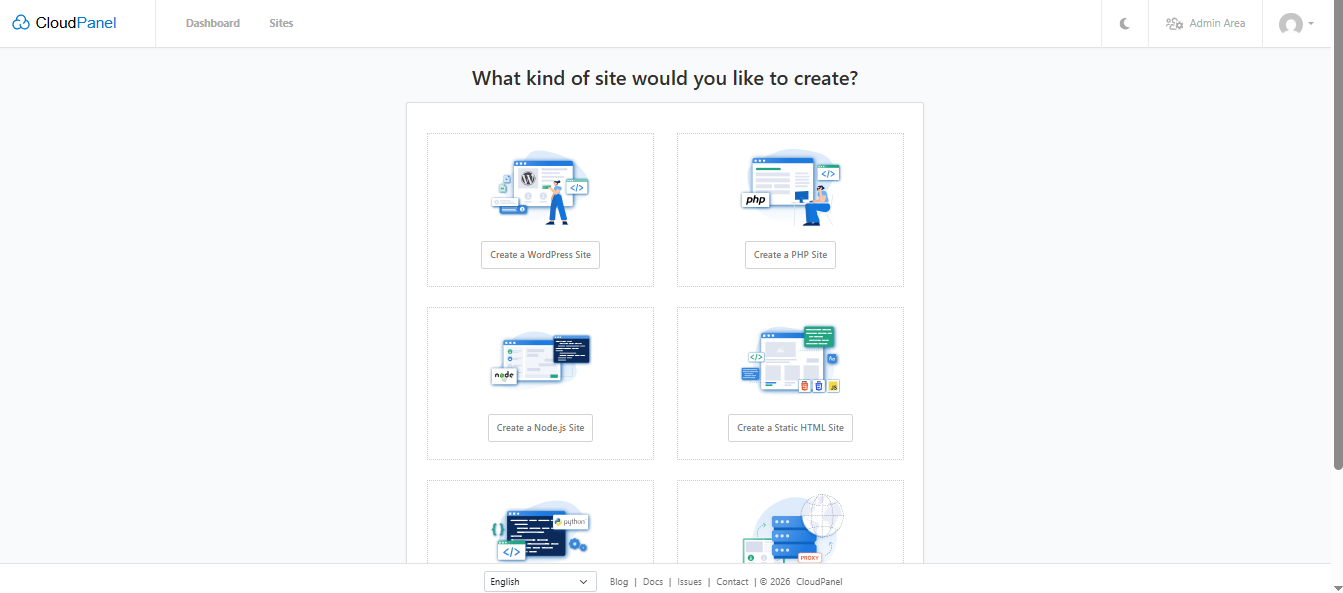
Step 4: Creating Your First Website
To host a website, follow these steps:
-
Click on the Sites tab in the top navigation menu.
-
If this is your first site, you will see "No sites found." Click the blue + ADD SITE button in the top-right corner.
-
Select the type of site you would like to create (e.g., Create a WordPress Site, Create a PHP Site, Create a Node.js Site, or Create a Static HTML Site).
-
Fill in the site details form:
-
Domain Name: The domain you have pointed to this server.
-
Site Title: The name of your website.
-
Site User/Password: Credentials for SSH/FTP access.
-
Admin User/Password: The login credentials for your WordPress installation (if installing WordPress).
-
Admin E-Mail: Your contact email for the site.
-
-
Click Create to initialize your new website.
Need Further Assistance?
If you encounter any issues during the setup process or have questions regarding your server configuration, please feel free to contact our support team at any time. We are here to help!
