Congratulations on launching your own live-streaming server! Your Owncast VPS has been automatically provisioned, so there is no complex installation required. This guide will help you verify your installation, access your dashboard, and manage your stream.
1. Verify Your Installation
Before logging in, ensure your services are running correctly. Run these commands via SSH to verify the health of your installation:
| Goal | Command | Success Indicator |
| Check Docker Service | systemctl status docker |
Active: active (running) |
| Check Container Status | docker ps |
STATUS should say Up ... |
| Verify Web Port | ss -tulnp | grep :8080 |
Shows LISTEN on port 8080 |
| Review Startup Logs | docker logs --tail 20 owncast |
No "CRITICAL" or "ERROR" lines |
Note: If
docker psshows no output, rundocker compose up -din your Owncast directory to start the container.
2. Accessing Your Admin Dashboard
Your server comes with a secure, built-in Admin Dashboard. Follow these steps to log in:
-
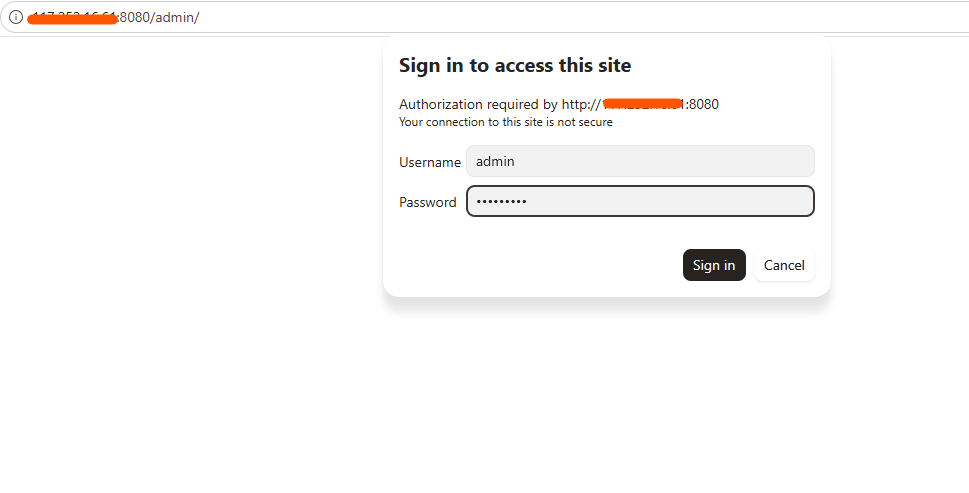
Access URL: Open your browser and navigate to:
http://<YOUR-SERVER-IP>:8080/admin/(Replace
<YOUR-SERVER-IP>with the IP address from your welcome email.)
-
Retrieve Credentials: You will be prompted for a username and password.
-
Username:
admin -
Password: Retrieve your secure password by running this command via SSH:
cat /root/credential.txt
-
3. Setting Up Your Broadcast (OBS Studio)
To go live, point your broadcasting software (like OBS Studio) to your server:
Get Your Stream Key
-
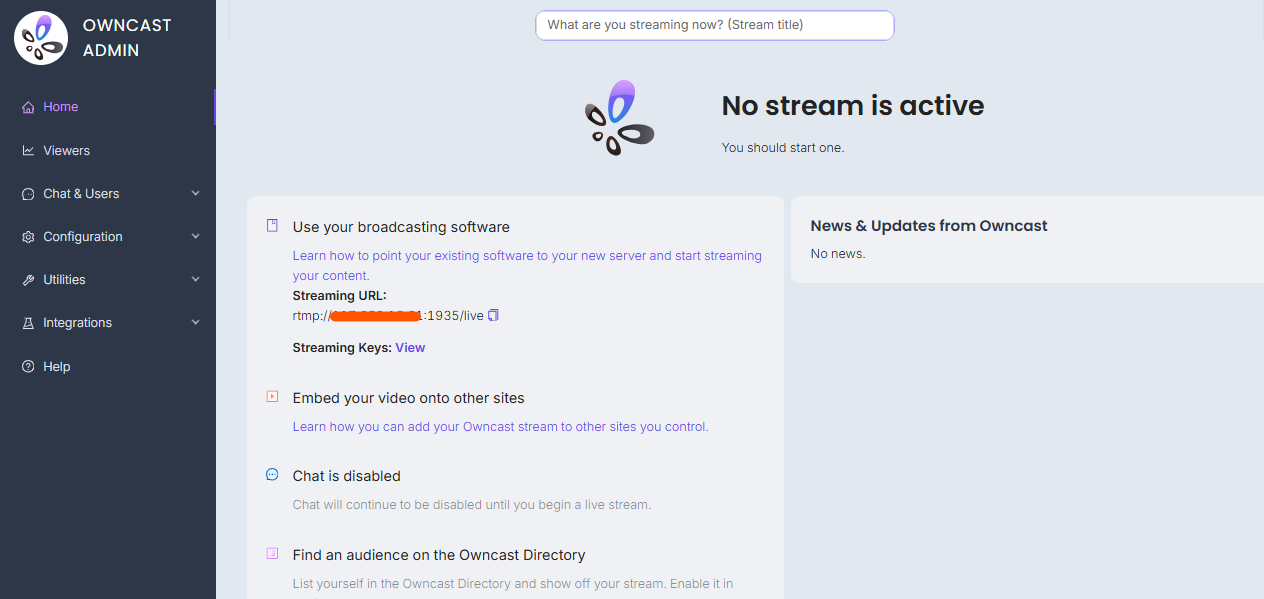
Log into your Admin Dashboard.
-
Navigate to Stream Setup.
-
Click View next to Streaming Keys to copy your key. Keep this key private.
Configure OBS Studio
-
Open OBS Studio and go to Settings > Stream.
-
Service: Select
Custom... -
Server:
rtmp://<YOUR-SERVER-IP>:1935/live -
Stream Key: Paste the key from your dashboard.
-
Click Start Streaming. Your feed will appear on your public page momentarily.
4. Maintenance & Health Checks
You can run these commands via SSH to monitor your server resources:
-
Resource Usage: Check CPU/RAM usage to ensure your stream is stable:
docker stats owncast --no-stream -
Verify Data Integrity: Ensure your config and database files are correctly saved to the host machine:
ls -lh /opt/owncast/data(You should see files like
config.yamlanddb.sqlite.)
5. Troubleshooting & FAQ
Q: My stream isn't appearing on the page.
-
A: Ensure the OBS status shows "Streaming" (Green). Verify the Server URL in OBS is
rtmp://<YOUR-IP>:1935/live.
Q: I forgot my Admin Password.
-
A: Log into your server via SSH and run
cat /root/credential.txtagain to retrieve it.
Q: Need further technical assistance?
-
A: If you see any "CRITICAL" or "ERROR" messages in
docker logs --tail 50 owncast, please open a support ticket with the HostGraber Team and include your server IP.