
Welcome to your production-ready ASP.NET Core (.NET 8) Web API environment, hosted by HostGraber Managed Cloud Hosting!
Unlike containerized systems, this server template is built directly on the host operating system (Bare-Metal / No Docker) for optimal raw performance, low latency, and native process scheduling. It features an active .NET 8 sample application, an internal MariaDB storage layer, and an Nginx reverse proxy tracking inbound traffic seamlessly out of the box.
1. Verifying Your Native Services
Our custom initialization layout deploys your stack directly as system-level components managed by standard system daemons.
To verify that your bare-metal environments are operating normally, connect to your server via SSH as the root user and execute these status checks:
| Service Engine | Systemd Management Command | What to Look For |
| ASP.NET App Daemon | systemctl status dotnetapp |
Look for a solid active (running) status in green. |
| Nginx Web Server | systemctl status nginx |
Handles the front-line routing and public requests. |
| MariaDB Database | systemctl status mariadb |
Your native relational SQL storage layer. |
2. Accessing Your Live Application Environments
Your server is running a functional starter API with built-in health tracking endpoints and test suites.
-
The Live Web Application: Verify public routing by entering your server IP into your browser:
http://<YOUR_SERVER_IP>
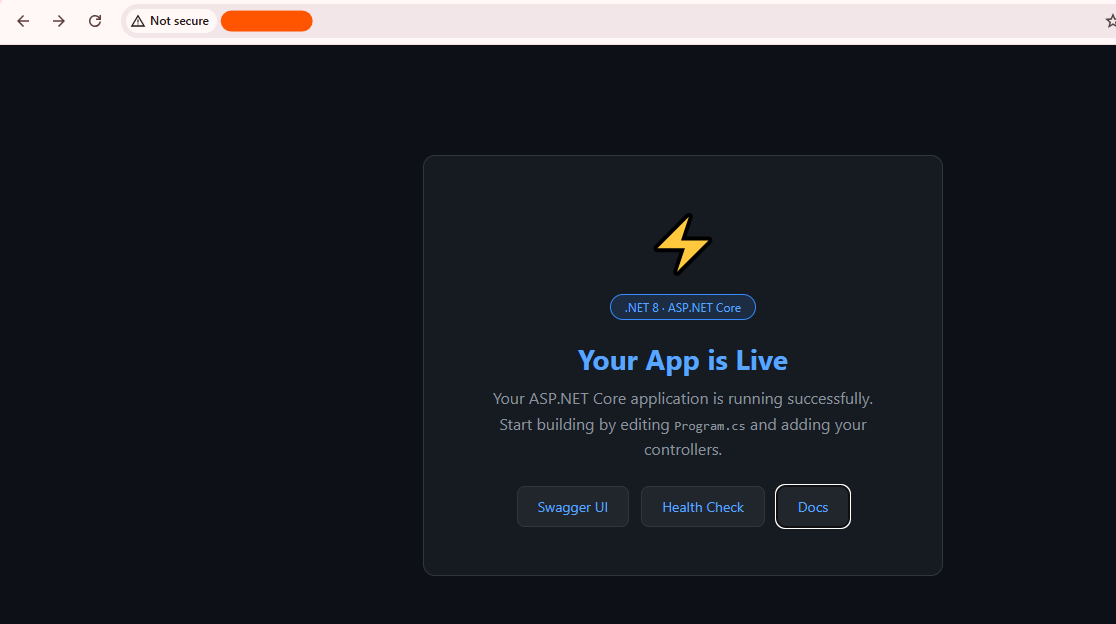
Figure 1: The native ASP.NET Core application public workspace display.
-
The Swagger API UI Workspace: To inspect endpoints, view data models, and test backend routing models directly through a visual dashboard, navigate to:
http://<YOUR_SERVER_IP>/swagger
Figure 2: The integrated Swagger API exploration utility.
-
Application System Health Check: To query real-time system dependencies and verify operational health programmatically, look at the health pipeline route:
http://<YOUR_SERVER_IP>/health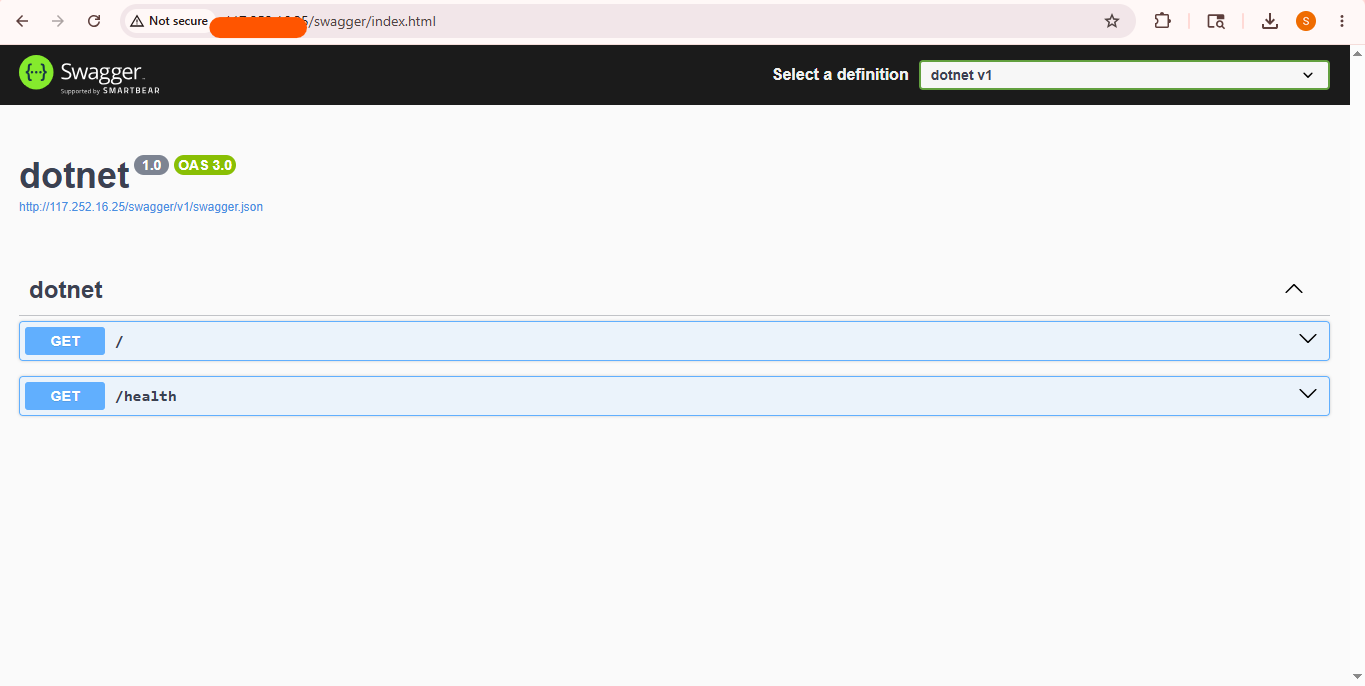
3. Database & App Configurations
Your database is hosted locally on the server. For security, your production data credentials are randomly provisioned during server creation.
Database Credentials
-
Engine: MariaDB (Local, Port
3306) -
Database Name:
dotnet_db -
Application User:
dotnet_user -
Connecting via Command Line:
mysql -u dotnet_user -p[Your_App_DB_Password] dotnet_db
Application Security Keys
Your instance includes a dedicated security key (Secret) used for JWT signing, data encryption, and session security.
⚠️ Security Policy Reminder: To protect your private credentials from automated extraction scripts, save these connection strings to an external password manager, then permanently delete the welcome log:
shred -u /root/credential.txt
4. How to Develop, Modify, and Redeploy Code
Your workspace files are cleanly structured across standard Linux directories. Because this deployment runs directly on bare-metal, your app runs securely under its own isolated user account (dotnetapp).
Workspace Layout Map
-
Core Source Files:
/opt/dotnet/app/ -
Main Entry Codebase:
/opt/dotnet/app/Program.cs -
Configuration Properties:
/opt/dotnet/app/appsettings.json -
Compiled Production Binaries:
/opt/dotnet/publish/
The Bare-Metal Code-Build Cycle
Whenever you add controllers under /opt/dotnet/app/Controllers/ or make updates to your .NET code, follow these native rebuild procedures:
# 1. Access your workspace
cd /opt/dotnet/app

# 2. Compile and publish your files securely
HOME=/root dotnet publish -c Release -o /opt/dotnet/publish

# 3. Apply secure ownership permissions for the isolated runtime user
chown -R dotnetapp:dotnetapp /opt/dotnet/publish

# 4. Restart the runtime daemon to apply changes instantly
systemctl restart dotnetapp
5. Production Maintenance & Log Inspection
Use these native terminal commands to monitor app health and track system logs:
-
Track Live Application Log Diagnostics: Stream real-time stdout logs and runtime debug fields directly from your .NET assembly:
journalctl -u dotnetapp -f -
Reload Nginx Layer: If you edit Nginx configuration parameters under
/etc/nginx/, run a graceful reload without causing server downtime:systemctl reload nginx
6. Going to Production: DNS & HTTPS Realization
When your development phases are complete and your application is ready to accept production traffic under an official company domain name, follow these steps:
-
Map Your DNS Configuration: Go to your domain registrar and create a DNS A-Record pointing your custom hostname (e.g.,
api.yourdomain.com) directly to your public server IP address. -
Install SSL via Nginx Certbot Integration: Secure user interactions by running the official automated Let's Encrypt certificates compiler tool:
apt update && apt install certbot python3-certbot-nginx -y
certbot --nginx -d yourdomain.com
Need Enterprise or Architecture Support?
If you require custom performance tuning for high-traffic demands, advanced Nginx reverse-proxy configuration adjustments, or managed backup setups, our technical engineers are here to assist you: