
Everything you need to connect, configure, and start using your newly provisioned Poste.io Mail Server purchased from the HostGraber Marketplace.
01. Finding your credentials
When your deployment finishes, the server automatically generates your admin credentials and configuration details, storing them securely on the server. To retrieve them, connect to your server via SSH:
$ ssh root@YOUR_SERVER_IP
$ cat /root/credential.txt
This file contains your Mail host URL, Administrator login, Mail Server ports, Docker commands, and DNS requirements.
Security notice: > Delete this file after saving your credentials. Run
shred -u /root/credential.txtto securely remove it from the server.
02. Accessing the Admin Panel
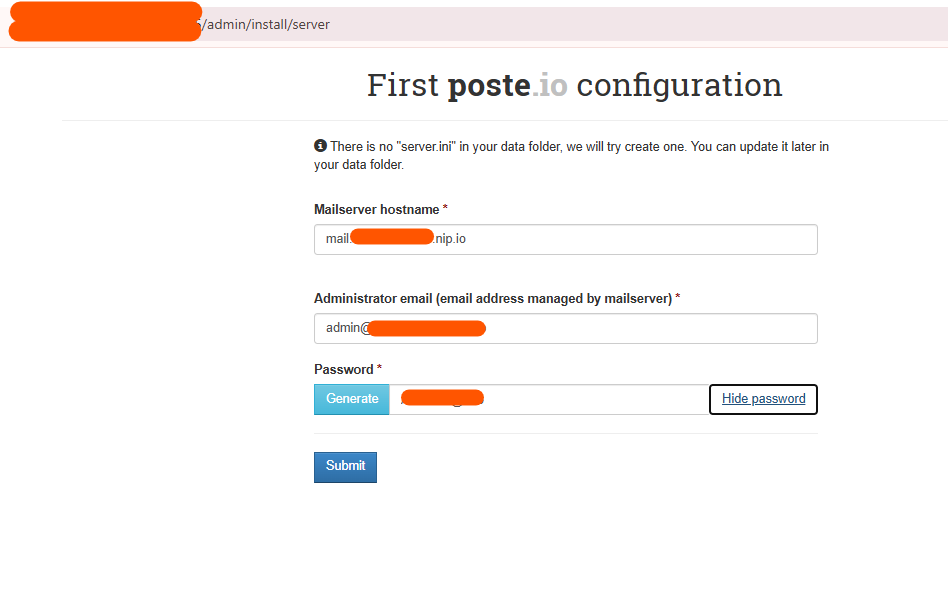
Your server is provisioned with the initial setup wizard already bypassed, so you can log in directly.
-
URL: Navigate to
http://YOUR_SERVER_IP/adminin your web browser.
-
Login: Use the
UsernameandPasswordprovided in yourcredential.txtfile.
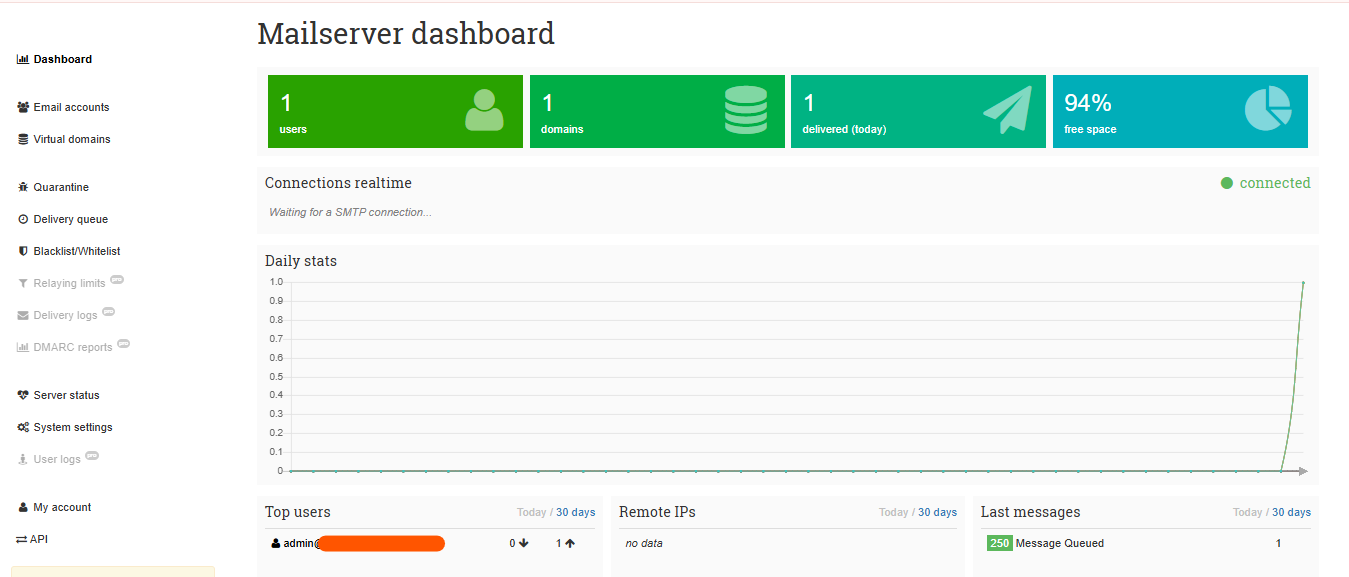
Once logged in, you will be greeted by the Mailserver dashboard, which provides a real-time overview of active users, configured domains, daily delivery stats, and available disk space.
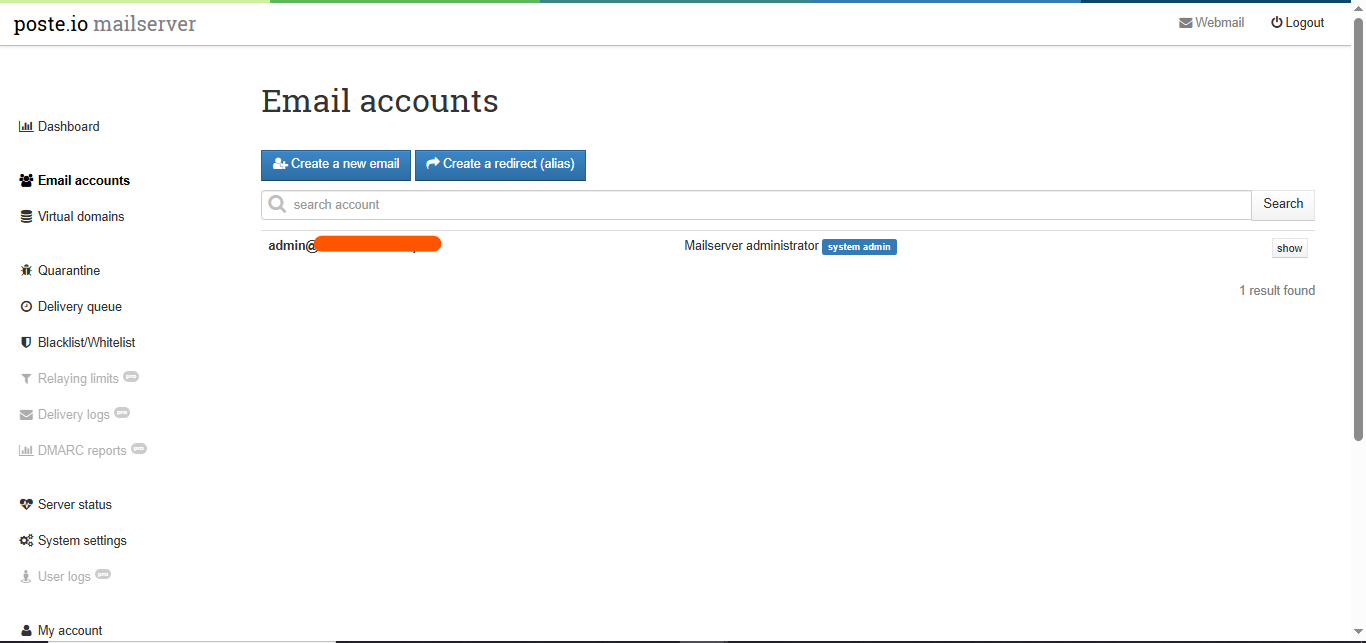
From the sidebar, you can navigate to Email accounts to create new addresses, set up redirects (aliases), or manage administrator privileges.
03. Accessing Webmail
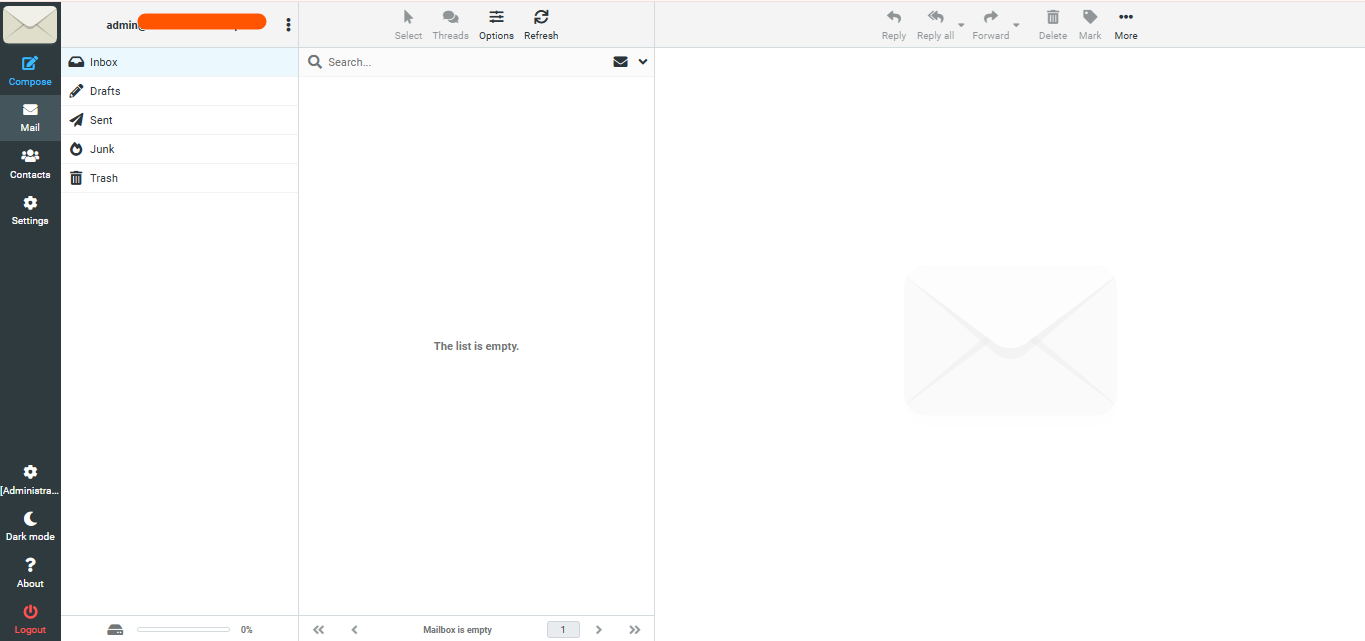
Poste.io includes a clean, fully-featured webmail interface for your users. Users can log in using their email address and password to access their Inbox, Drafts, Sent folder, Junk, and Trash.
The webmail interface also includes a Dark Mode toggle and easy access to user-level settings.
04. Mail Server Ports
Your firewall is pre-configured to allow essential mail traffic. Below is the reference list of active ports on your server:
| Port | Description | Status |
| 25 | SMTP (Inbound mail) | OPEN |
| 587 | SMTP Submission (Outbound with authentication) | OPEN |
| 465 | SMTPS (Secure SMTP) | OPEN |
| 143 | IMAP (Receiving mail) | OPEN |
| 993 | IMAPS (Secure IMAP) | OPEN |
| 995 | POP3S (Secure POP3) | OPEN |
05. Required DNS Records
For your mail server to send and receive emails reliably without being flagged as spam, you must configure the following DNS records at your domain registrar:
| Type | Name | Value / Destination |
| A | mail.yourdomain.com |
YOUR_SERVER_IP |
| MX | yourdomain.com |
mail.yourdomain.com (priority 10) |
| TXT | yourdomain.com |
v=spf1 mx ~all |
| PTR | YOUR_SERVER_IP |
mail.yourdomain.com (Set this at your hosting provider panel) |
Note: Replace yourdomain.com and YOUR_SERVER_IP with your actual domain and server IP.
06. Day-to-day Management Commands
Your Poste.io server runs inside a Docker container. You can manage the service via SSH using the following commands:
-
View live logs:
docker compose -f /opt/posteio/docker-compose.yml logs -f -
Restart mail server:
docker compose -f /opt/posteio/docker-compose.yml restart -
Open a shell inside the container:
docker exec -it posteio bash -
Update to latest image:
docker compose -f /opt/posteio/docker-compose.yml pull && docker compose -f /opt/posteio/docker-compose.yml up -d
All persistent mail data is stored securely in /opt/posteio/data/. To create a manual backup, you can run: tar czf posteio-backup.tar.gz /opt/posteio/data/.
07. Next Steps & Hardening Checklist
To ensure your server is fully production-ready, complete these final steps:
-
Add DNS records: Configure the A, MX, and SPF (TXT) records at your domain registrar.
-
Set the PTR/rDNS record: Do this in your hosting provider control panel to match your mail hostname.
-
Enable HTTPS: Navigate to Admin > System > TLS certificate. Let's Encrypt will automatically issue a certificate once your DNS A record has propagated.
-
Configure DKIM: Go to Admin > Domains > [Your Domain] > DKIM to generate your DKIM key. Add the provided TXT record to your domain's DNS settings.
-
Test your mail flow: Send a test email to
https://www.mail-tester.comto verify your SPF, DKIM, and IP reputation. -
Clean up: Run
shred -u /root/credential.txton your server to permanently delete the plaintext setup file.