
Thank you for choosing the Node-RED One-Click Application from the HostGraber-Marketplace! This documentation outlines exactly how the automated deployment functions, how to securely retrieve your credentials, and how to manage your new orchestration server.
1. How the Auto-Deployment Works
When you purchase this app from the HostGraber Marketplace, our backend system eliminates manual installation entirely by performing an instant scriptless deployment.
[HostGraber Marketplace] ──► [Auto-Provisioning] ──► [Ubuntu 24.04 LTS Host] ──► [ GrabeCode Engine] ──► [Live Node-RED Instance]
-
Instant Provisioning: The marketplace system immediately deploys a clean virtual machine running Ubuntu 24.04 LTS.
-
Containerized Infrastructure: Node-RED is automatically deployed as an isolated container using Docker Compose under
/opt/nodered/. -
Persistent Data Engine: The deployment configuration mounts a persistent storage volume to
/datainside the container, ensuring that your customized flows, node extensions, and credentials remain entirely safe even if the server is restarted or upgraded. -
Immediate Availability: The web interface goes live instantly on your server's public IP address. No complex manual configurations or dependency troubleshooting are required.
2. Retrieving Your Access Credentials
To maintain strict security standards, unique credentials and application encryption secrets are randomly generated during provisioning.
Step 1: Log In via SSH
Connect to your new virtual server as root using an SSH client (like Terminal, Command Prompt, or PuTTY) and the primary password you designated during your marketplace checkout:
ssh root@your_server_ip
Step 2: Read the Welcome Banner and Credentials File
Upon a successful SSH connection, the Ubuntu welcome message displays a dedicated Node-RED Server Ready notification banner. Execute the following command to print your secure login data:
cat /root/credential.txt
Your credential.txt payload contains the following structured connection data:
| Section | Property | Value / Description |
| Node-RED Admin | URL | http://your_server_ip/ |
| Username | admin |
|
| Password | A unique, strong alphanumeric string (e.g., RDUjiOqmI3Ah5JF6) |
|
| Application Secrets | Credential Secret | A unique cryptographic key used locally to encrypt sensitive flow nodes. |
Crucial Security Polish (Backlinking & Cleanup): Once you save these login details securely to your local password manager, remove the plain text credentials file from your server by running:
shred -u /root/credential.txt
3. Accessing the Node-RED Workspace
Initial Login & UI Sequence
-
Navigate to
http://your_server_ip/in your web browser. -
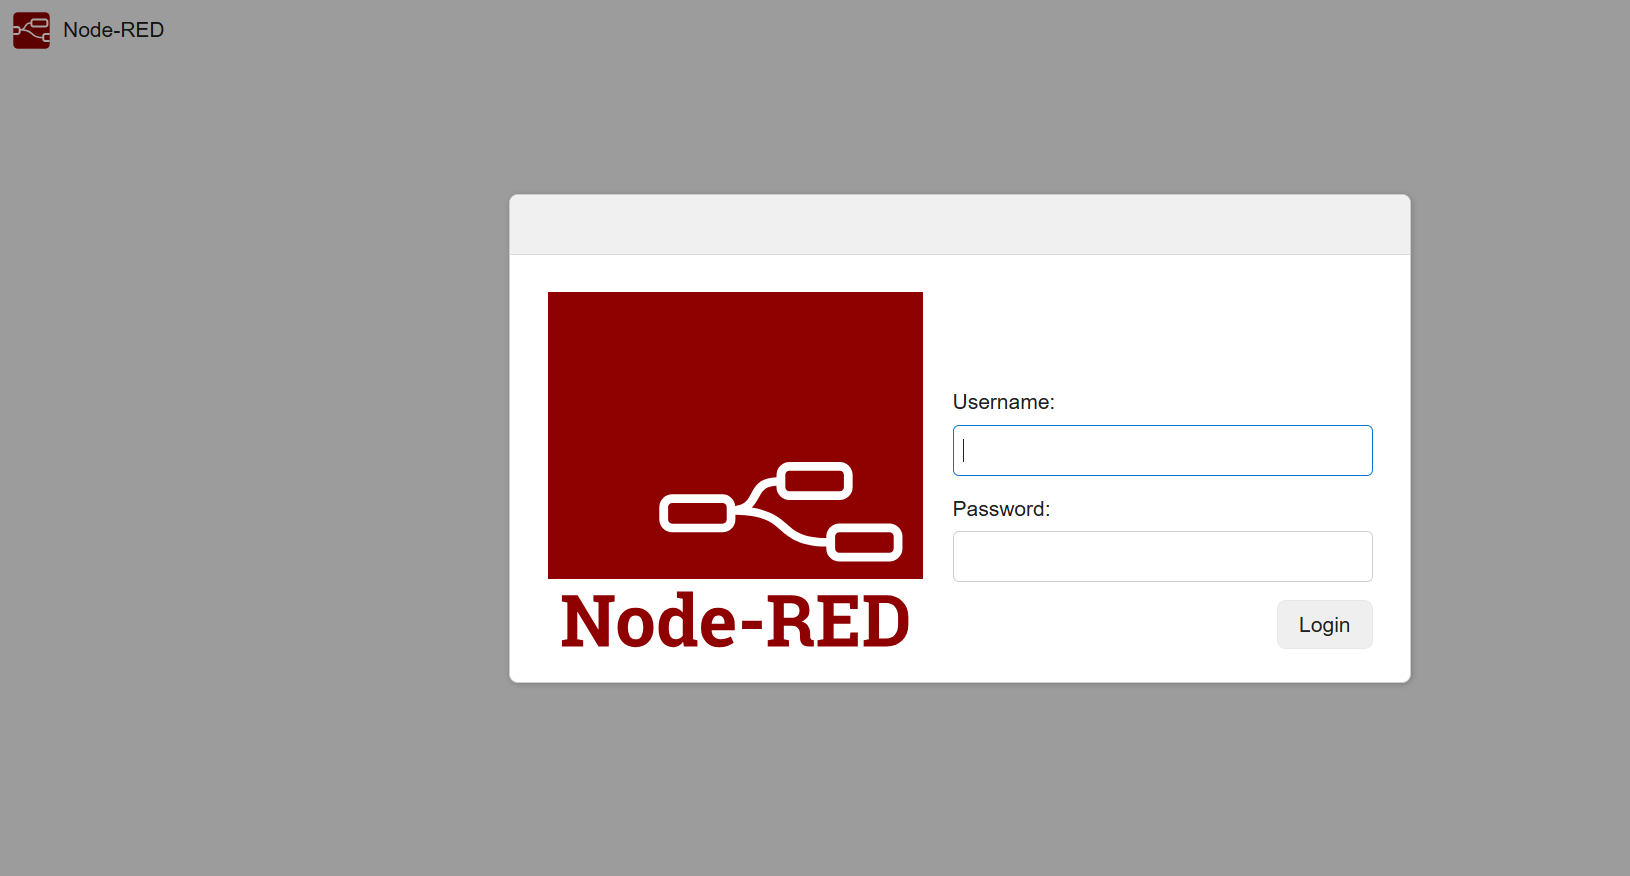
You will be greeted by the secure login interface. Input
adminas the username and your unique system password.
-
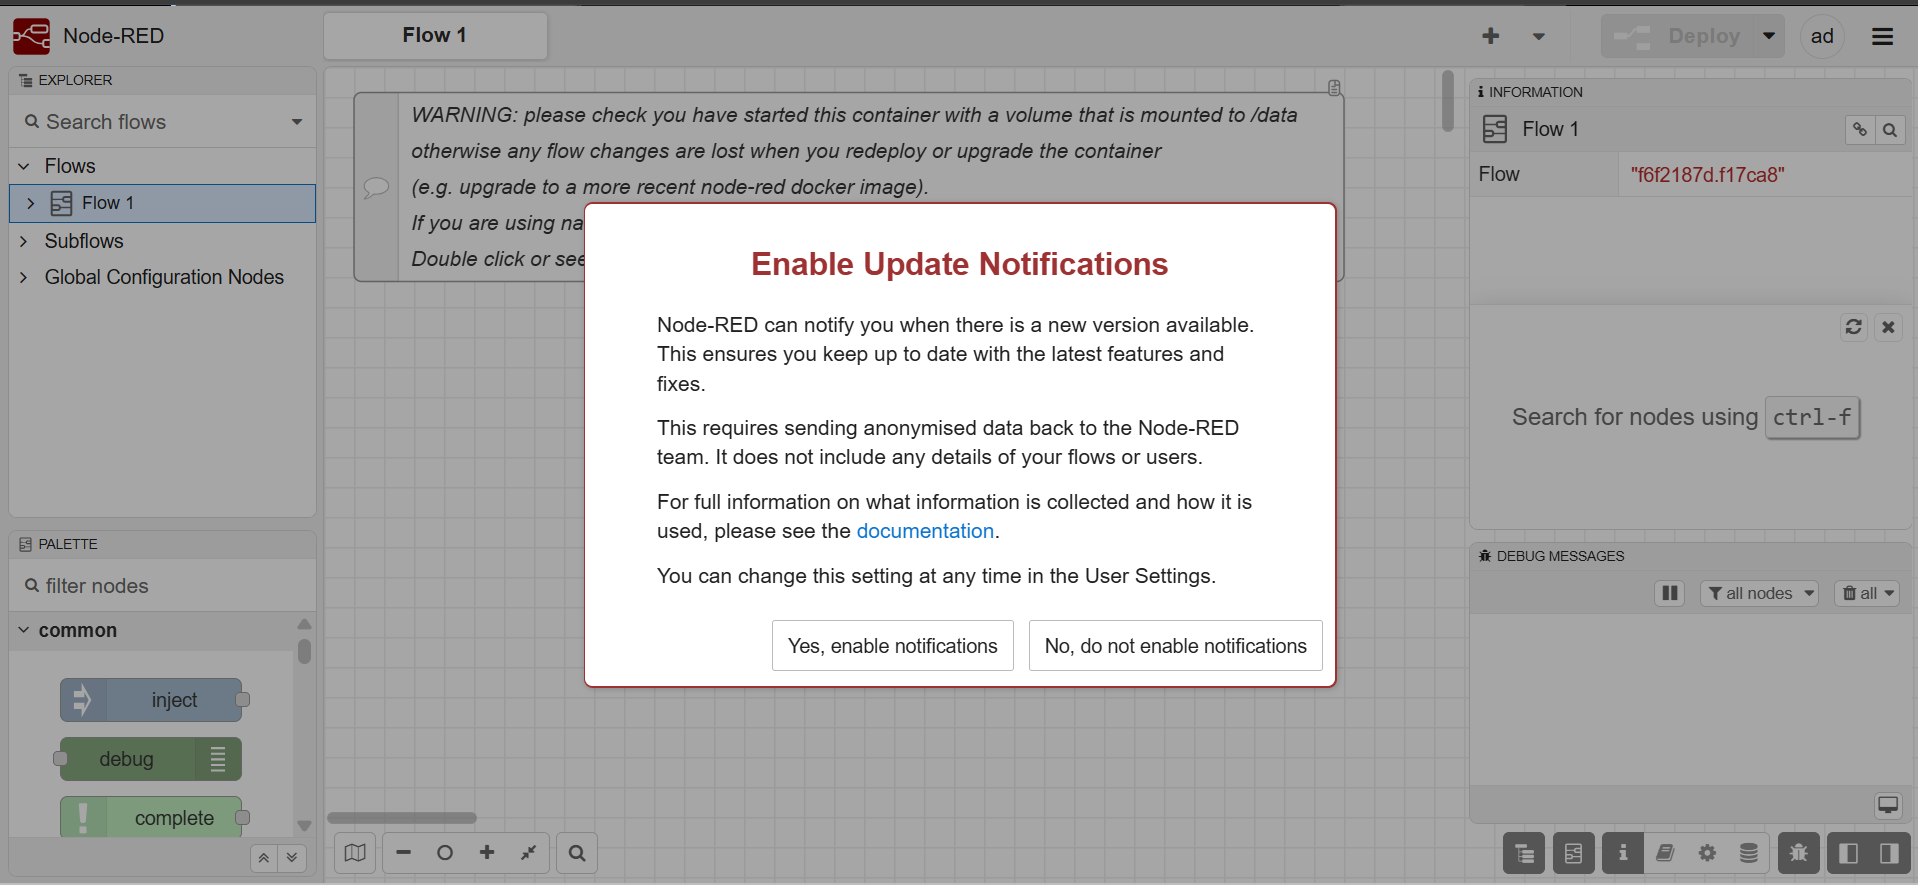
Upon your first entry, Node-RED will present an "Enable Update Notifications" modal window. Select your preference to clear the overlay.
-
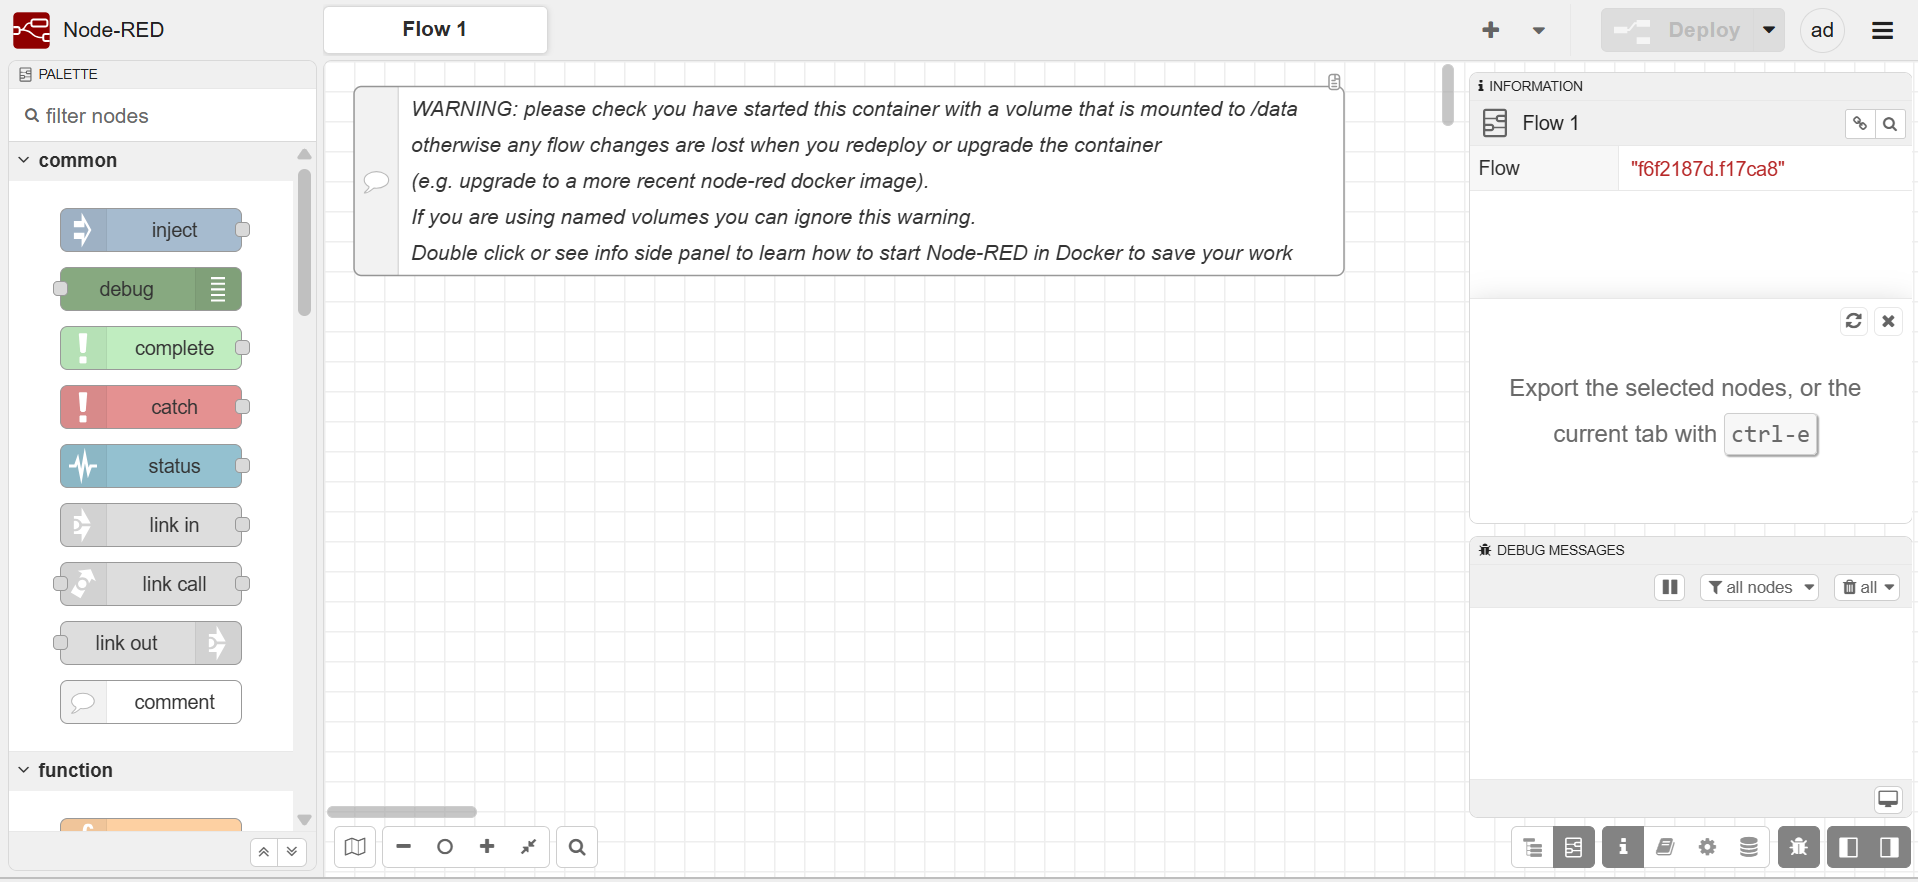
You will then have full access to your blank, production-ready canvas, where you can begin building automated workflows immediately.
Essential Docker Management Commands
If you need to check your system's operational health from the terminal backend, use these pre-mapped commands:
-
View live runtime logs:
docker compose -f /opt/nodered/docker-compose.yml logs -f
-
Restart the Node-RED container environment:
docker compose -f /opt/nodered/docker-compose.yml restart
-
Access the container's internal terminal:
docker exec -it nodered-node-red-1 bash
4. Production Next Steps: DNS & Reverse Proxy Setup
To optimize your deployment for professional use and establish proper backlinking for webhooks, implement the following production settings:
Point Your Domain (DNS A-Record)
To access your deployment via a clean domain name (e.g., nodered.yourdomain.com), log into your registrar's DNS dashboard and map an A-Record directly to your HostGraber public IP address.
Enable Production-Grade SSL Encryption
Secure your credentials and API endpoints with free automated SSL encryption via Certbot:
# Update the local package repository
apt update

# Install Certbot for your chosen web server architecture (e.g., Apache/Nginx)
apt install certbot python3-certbot-apache -y

# Provision and install the certificate automatically
certbot --apache -d nodered.yourdomain.com