
Thank you for purchasing the WordPress Deployment stack from the HostGraber Marketplace!
This product delivers a fully pre-installed, high-performance WordPress platform running inside an optimized Ubuntu Docker infrastructure. WordPress is completely configured and operational immediately upon server provisioning—allowing you to scale your business without wasting time on tedious backend installation wizards.
What You Can Build with This Stack
-
Corporate & Business Websites
-
High-Traffic Blogs & Editorial Outlets
-
WooCommerce eCommerce Storefronts
-
Custom Extendable Applications via Themes & Plugins
Step 1: Locate Your Welcome Credentials
Upon order completion, HostGraber automatically generates a randomized deployment profile to secure your node against brute-force attacks. You will receive an automated dispatch notification containing:
-
Your Unique Server IP Address
-
Root Password & SSH Access Parameters
-
Pre-installed WordPress Admin Sign-in Route
-
Randomized Admin Username & Secure Password
Step 2: Connect to Your Server via SSH
Open your native command line interface terminal (Terminal on macOS/Linux, PowerShell or PuTTY on Windows) and initiate a secure login command:
ssh root@<YOUR_SERVER_IP>
Provide the root authentication password assigned to your instance at checkout when prompted.
Once authenticated, your terminal splash banner will confirm successful system initialization:
+----------------------------------------------------+
|        WORDPRESS DOCKER SERVER - READY             |
|  Credentials:  cat /root/credential.txt            |
+----------------------------------------------------+
Step 3: Read Your Application Environment Profile
To retrieve your live application routes, internal database configurations, and Docker tracking flags directly from the host filesystem, run:
cat /root/credential.txt
Your system terminal will output your dedicated deployment profile structured cleanly:
================================================================
  WORDPRESS DEPLOYMENT - CREDENTIALS
================================================================
  Server IP : <YOUR_SERVER_IP>
  Domain    : <YOUR_SETUP_DOMAIN_OR_IP>

-- WORDPRESS ADMIN LOGIN ---------------------------------------
  URL       : http://<YOUR_SERVER_IP>/wp-admin
  Username  : admin
  Password  : [YOUR_RANDOMIZED_SECURE_PASSWORD]
================================================================
Step 4: Open Your Website Frontend
Open your modern web browser and type your designated public address straight into the URL window:
http://<YOUR_SERVER_IP>
Your instance immediately serves the clean, fully functional default WordPress core design canvas.
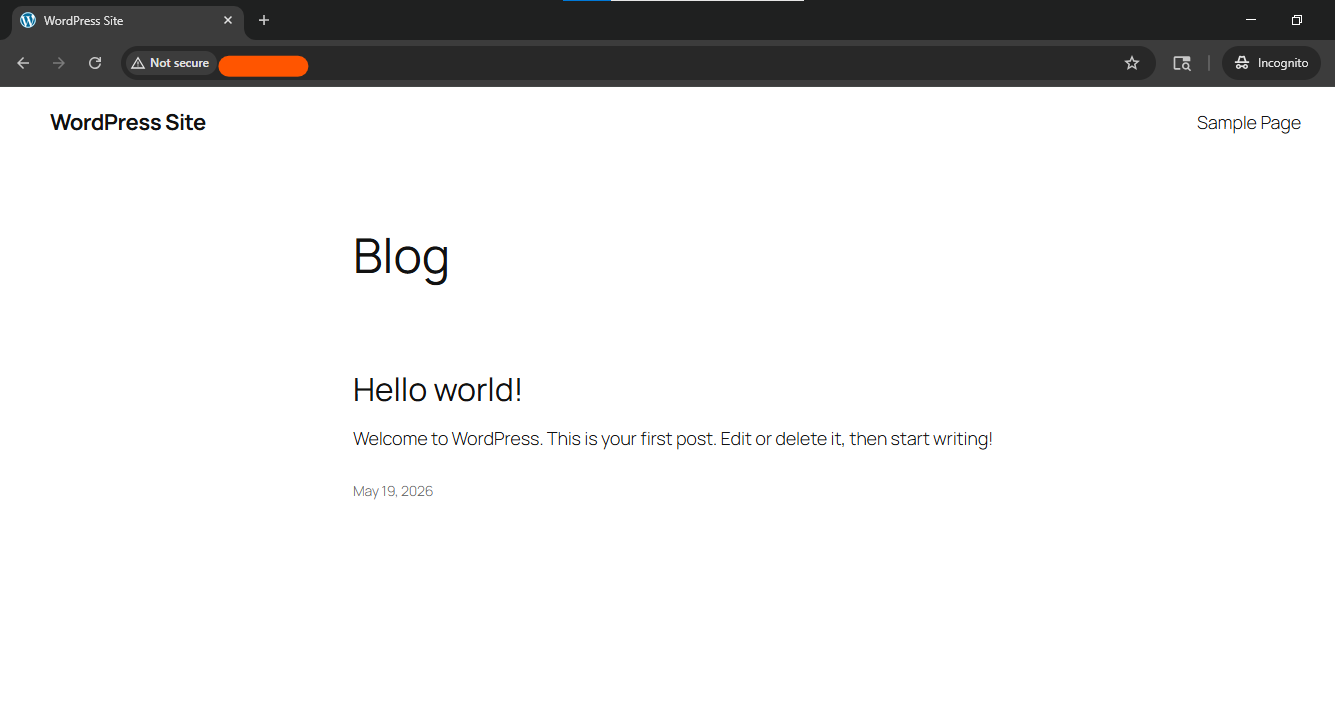
Figure 1: The pre-configured public WordPress landing page.
Step 5: Access the Admin Login Portal
To log into your content engine workspace, append /wp-admin to your target address or navigate to:
http://<YOUR_SERVER_IP>/wp-admin
Input your dedicated Username and secure Password gathered from your /root/credential.txt asset file.
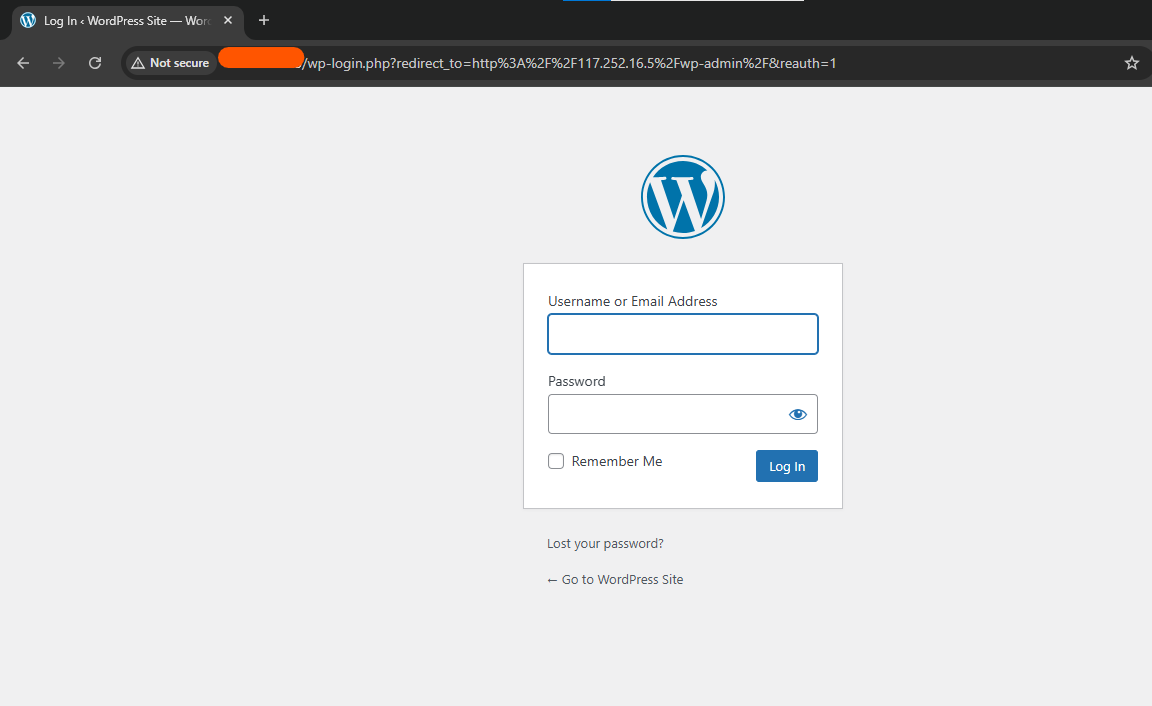
Figure 2: The secure WordPress core administrative login panel.
Step 6: Explore Your WordPress Administration Console
Once verified, you will bypass all initial configurations and drop cleanly into the primary content management workspace dashboard. From this window, you can instantly control posts, manage system plugins, configure asset locations, and deploy styles.
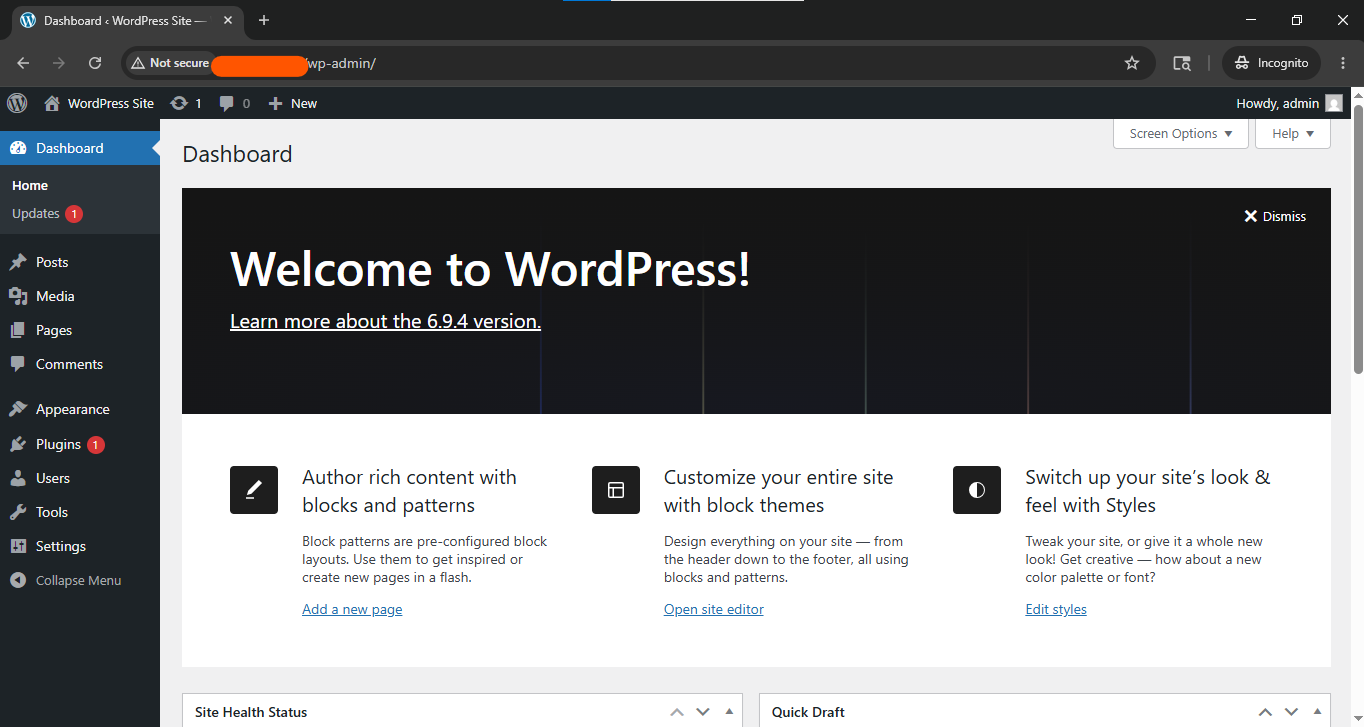
Figure 3: The production-ready WordPress content management interface.
Step 7: Personalize Your Site Design (Install a Theme)
Transform your visual interface instantly by deploying custom themes:
-
Navigate to the sidebar panel: Appearance → Themes
-
Click the Add New Theme element at the top header area.
-
Browse the global index or upload an engine archive directly.
-
Click Install, and then choose Activate once processing concludes.
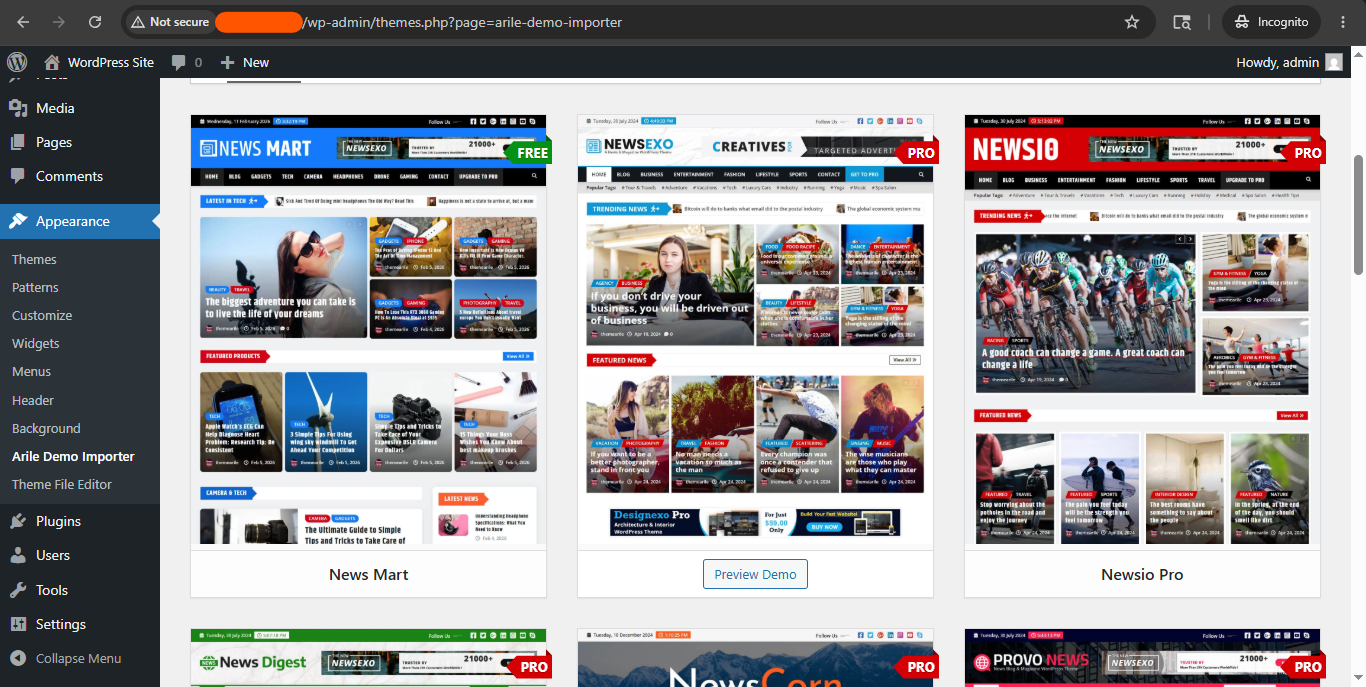
Figure 4: Customizing your site design using premium themes.
Step 8: Build Out Pages & Content Structures
Publish Primary Pages
Go to Pages → Add New to build structural business assets, such as:
-
Home/ Frontpage Landing -
About Us/ Company History -
Contact/ Lead Intake Forms -
Services/ Commercial Portfolios
Write an Editorial Post
Go to Posts → Add New to deploy content blocks. The integrated Block Editor lets you drops in rich media layouts, responsive multi-column texts, inline images, custom video embeds, and interaction buttons natively.
Step 9: Map Your Domain Name to the Cloud Host
To substitute your server's raw numerical IP address for an elegant public business domain, connect directly to your external Domain Name Registrar management system and configure a clean DNS A-Record:
| Type | Name / Host | Value / Target | TTL |
| A | @ (Or root domain) |
<YOUR_SERVER_IP> |
Automatic / 3600 |
| A | www |
<YOUR_SERVER_IP> |
Automatic / 3600 |
Core Container Administration Commands
Manage your application engine deployment directly from your host command terminal using these utility snippets:
-
Stream Live Production Container Logs:
docker compose -f /opt/wordpress/docker-compose.yml logs -f -
Gracefully Cycle Component Daemons:
docker compose -f /opt/wordpress/docker-compose.yml restart -
Drop into the Interactive Application Shell Environment:
docker exec -it wordpress-wordpress-1 bash -
Execute System Level WP-CLI Tasks:
docker exec -it wordpress-wordpress-1 wp --allow-root
Post-Deployment Security Protocols
Update Master Administrative Password
Protect your dashboard workspace immediately by updating your temporary password. Go to Users → Profile, scroll down to the account security parameters, generate a fresh secure passphrase string, and click Update Profile.
Secure Core Server Environment Logs
Once you have documented your passwords securely elsewhere, permanently wipe the welcome onboarding file to ensure zero local plaintext access trails exist on your root cluster:
shred -u /root/credential.txt
Troubleshooting Common Edge Cases
-
Website Fails to Resolve: Verify that your hypervisor host firewall profiles allow outbound access, or ensure your local domain configuration has fully propagated across public DNS servers.
-
Themes/Plugins Refuse to Process: This is typically caused by insufficient disk allotments or incorrect directory permissions. Check your active storage spaces using the native
df -hutility command.
Need Production or Structural Assistance?
If you hit an unexpected error or want tips on optimizing your WordPress architecture, our engineering staff is standing by 24/7: