
Thank you for purchasing the OneDev Deployment stack from the HostGraber Marketplace!
This product delivers a fully pre-installed, high-performance OneDev platform running inside an optimized Ubuntu Docker infrastructure. OneDev is an all-in-one DevOps platform featuring Git hosting, CI/CD pipelines, Kanban boards, issue tracking, and package registries. Your server is completely ready for its initial configuration wizard immediately upon delivery.
What You Can Build with This Stack
-
Git Hosting & Code Reviews: Fast repositories with pull requests and AI-assisted code reviews.
-
CI/CD Pipelines: Powerful, visual build automation running directly over your host’s Docker socket.
-
Project Management: Built-in Kanban boards, issue tracking lists, and enterprise wikis.
-
Package Registry: Secure hosting for Docker images, Maven artifacts, npm packages, and NuGet bundles.
Step 1: Locate Your Credentials
Upon order completion, HostGraber automatically generates a randomized deployment profile to secure your node against brute-force attacks.
To view your specific deployment access routes and verification metrics at any time, connect to your server via SSH and read the onboard identity file:
cat /root/credential.txt
Your system terminal will output your dedicated setup metrics cleanly:
================================================================
  ONEDEV DEPLOYMENT - CREDENTIALS
================================================================
  Server IP : <YOUR_SERVER_IP>
  Domain    : <YOUR_SERVER_IP>
  App URL   : http://<YOUR_SERVER_IP>
================================================================
Step 2: Complete the First-Run Setup Wizard
1. Initialize Administrative Account
Open your browser and navigate directly to your web application location: http://<YOUR_SERVER_IP>. You will be greeted by the initialization setup engine. Supply your desired administrator profile settings.
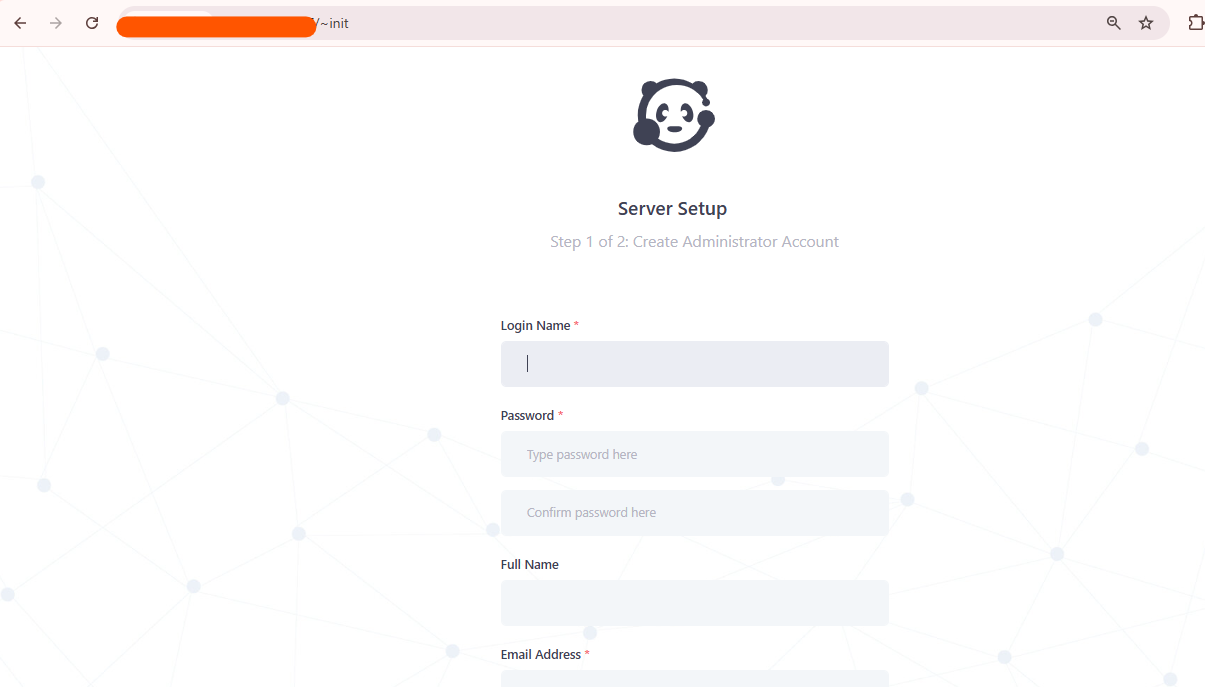
Figure 1: Creating your primary OneDev administrator account credentials.
2. Configure Your Server System URL
On the following wizard window, confirm your system configuration link matching your active instance parameters. This value sets the base path strings for all future Git clone operations and system webhook hooks.
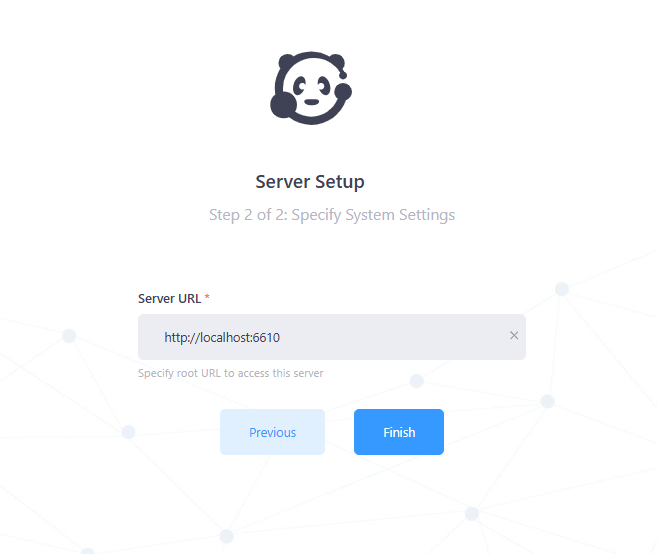
Figure 2: Configuring the primary system server URL context.
3. Access Your New Workspace Core
After finishing the short setup steps, you will be taken straight to your brand new OneDev main project board area. Your platform is completely configured and ready to host active production workloads!
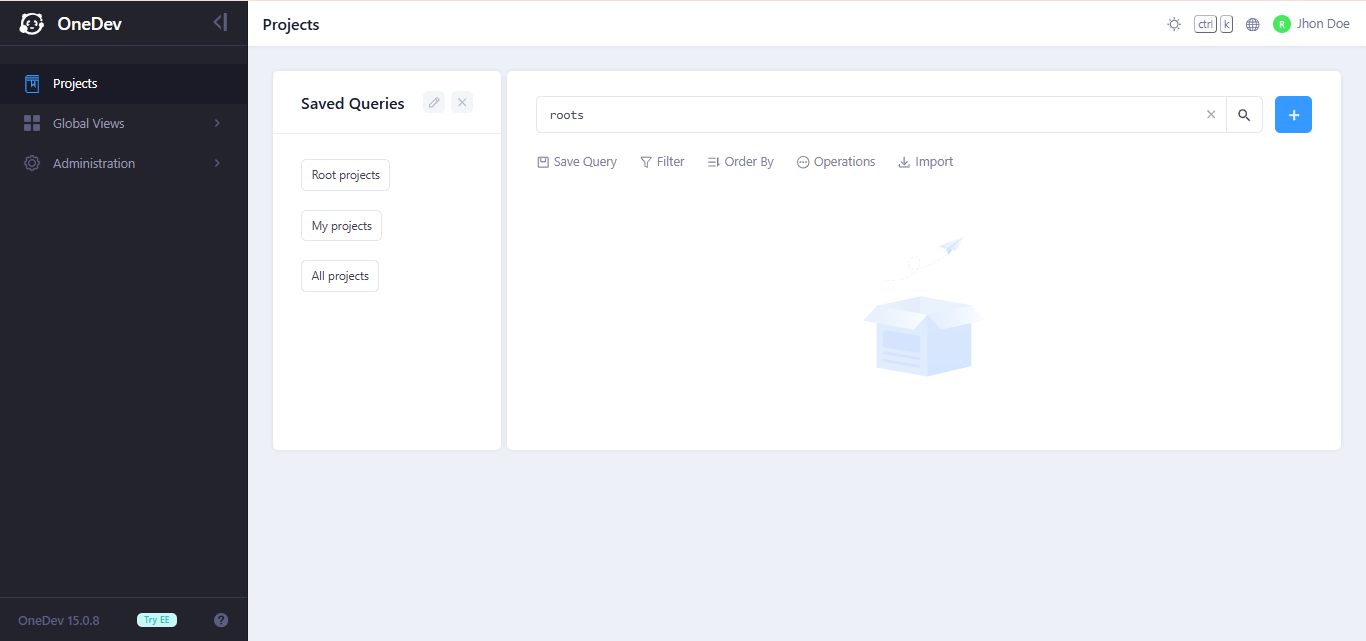
Figure 3: The production-ready OneDev main administrator dashboard screen.
Step 3: Git Workspace Access Control
Your deployment allows secure developer interactions through two distinct network channels:
HTTP Code Management
Perfect for quick integrations or standard web access hooks:
-
Target HTTP Base URL:
http://<YOUR_SERVER_IP>/<project>.git -
Clone Statement Example:
git clone http://<YOUR_SERVER_IP>/my-organization/my-repository.git
SSH Code Management
Recommended for secure automated deployment configurations and developer workspaces:
-
Target SSH Base URL:
ssh://git@<YOUR_SERVER_IP>:6611 -
Clone Statement Example:
git clone ssh://git@<YOUR_SERVER_IP>:6611/my-organization/my-repository.git
Firewall Access Note: Your SSH operations route over dedicated system cluster network Port 6611. Ensure this port is explicitly allowed through your external firewalls.
Core Container Administration Commands
Manage your core DevOps system cluster directly from your server command line using these pre-configured utilities:
-
Stream Live Container Logging Outputs:
docker compose -f /opt/onedev/docker-compose.yml logs -f -
Gracefully Cycle System Environments:
docker compose -f /opt/onedev/docker-compose.yml restart -
Check Cluster Container Running Health:
docker compose -f /opt/wordpress/docker-compose.yml ps -
Perform an Automated Core Software Update:
docker compose -f /opt/onedev/docker-compose.yml pull && \
docker compose -f /opt/onedev/docker-compose.yml up -d
How to Run an On-Demand System Backup
To bundle your complete data workspace storage volume into a compressed, time-stamped archive without taking down application services, run:
docker run --rm -v onedev_data:/data -v $(pwd):/backup ubuntu tar czf /backup/onedev-backup-$(date +%F).tar.gz /data
Step 4: Production Configuration & DNS Mapping
When transitioning your DevOps environment into active team operations, follow these two best practices:
1. Map Your Business Domain Name
Connect to your active domain registrar and configure a clean DNS A-Record pointing your custom hostname (e.g., devops.yourdomain.com) directly to your public server IP.
2. Enable SSL Encryption (HTTPS)
Secure your team's access parameters, source arrays, and secret tokens by provisioning Let's Encrypt certificates directly inside your host console shell terminal:
# Pull current core repo index assets
apt update

# Deploy the local reverse-proxy Certbot helper script
apt install certbot python3-certbot-nginx -y

# Compile and bind certificates instantly
certbot --nginx -d devops.yourdomain.com
3. Sync OneDev Internal System Variables
After enabling your new secure HTTPS configurations, log into your web interface workspace and navigate directly to: OneDev Admin > Server Settings > Server URL. Update the entry field to point cleanly to your new secure domain address format: https://devops.yourdomain.com.
(Note: Git SSH operations remain running over port 6611 and do not require separate SSL layer updates).
4. Erase Plaintext Setup Records
Once all initial admin configurations are completed and passwords are saved to a secure workspace password manager, permanently erase your installation text file from the disk to eliminate local plaintext access records:
shred -u /root/credential.txt
Need Production or Structural Assistance?
If you require support with high-availability configurations, custom runner scaling techniques, or automated backup scheduling profiles, our technical systems staff is available 24/7: