
Thank you for purchasing the ConvertX Deployment stack from the HostGraber Marketplace!
This product delivers a fully pre-installed, high-performance ConvertX platform running inside an optimized Ubuntu Docker infrastructure. ConvertX is a powerful, self-hosted multi-tool utility designed for fast file conversions, data processing, and document formatting. Backed by isolated container runtimes, your instance is operational and ready to process files immediately upon delivery.
What You Can Do with This Stack
-
Multi-Format File Conversion: Convert seamlessly between documents, images, audio, video, and archives.
-
Developer Utilities: Parse, format, and convert structured data including JSON, XML, YAML, and CSV.
-
Document Processing: Merge, split, compress, or overlay protective watermarks onto PDF assets natively.
-
Privacy-First Operations: Keep your sensitive operational data completely secure on your own cloud hardware, free from third-party tracking.
Step 1: Locate Your Deployment Details
Upon order completion, HostGraber automatically provisions your isolated multi-container runtime environment.
To view your specific deployment access paths and information fields at any time, connect to your server via SSH and read the onboarding file:
cat /root/credential.txt
Your system terminal will output your dedicated setup metrics cleanly:
================================================================
  CONVERTX DEPLOYMENT - CREDENTIALS
================================================================
  Server IP : <YOUR_SERVER_IP>
  Domain    : <YOUR_SERVER_IP>
  App URL   : http://<YOUR_SERVER_IP>
================================================================
Step 2: Complete Your First-Visit Registration
1. Initialize the Master Owner Account
Open your browser and navigate directly to your assigned instance web address: http://<YOUR_SERVER_IP>. You will be directed to the initial admin registration form. Provide your name, target email identity, and a strong password configuration.
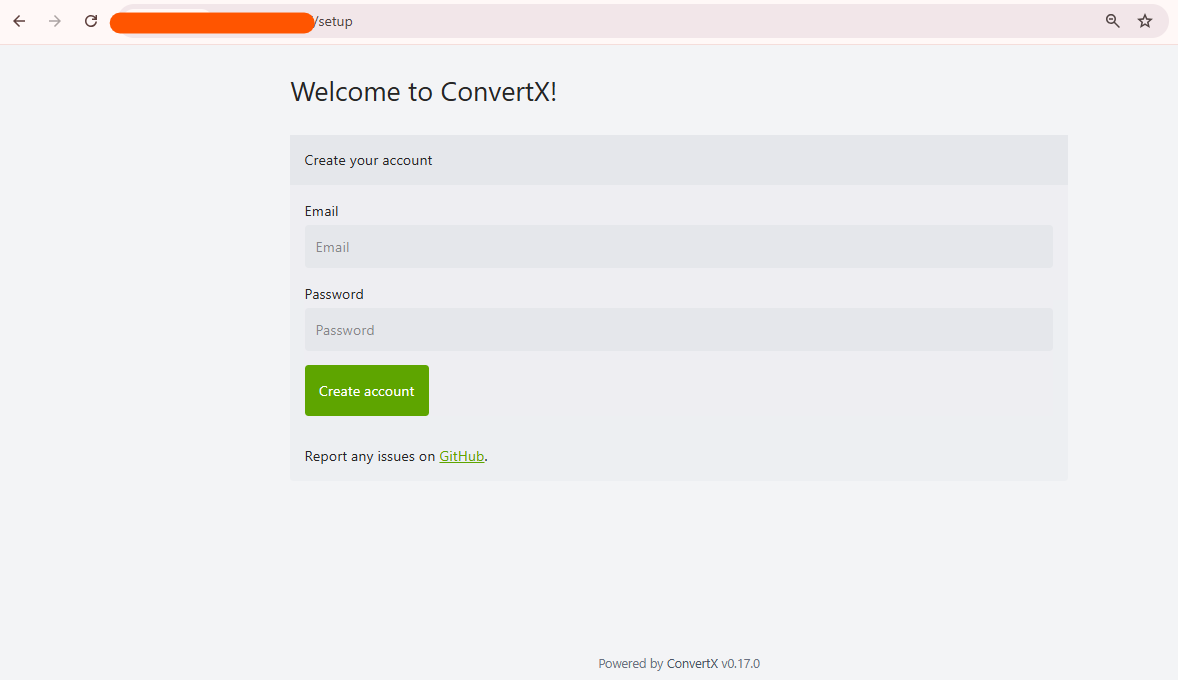
Figure 1: Initializing the master administrator owner profile account.
Critical Security Warning: The first profile created using this registration panel becomes the absolute master root owner of the ConvertX application. For system safety, all public registration pathways are automatically locked down right after this first form submission finishes.
2. Explore the Main Management Interface
Once registration is processed, you will bypass setup paths and drop straight into the central app interface. From this primary hub, you can track current conversions, navigate standard tool collections, or drop elements into active scratch spaces.
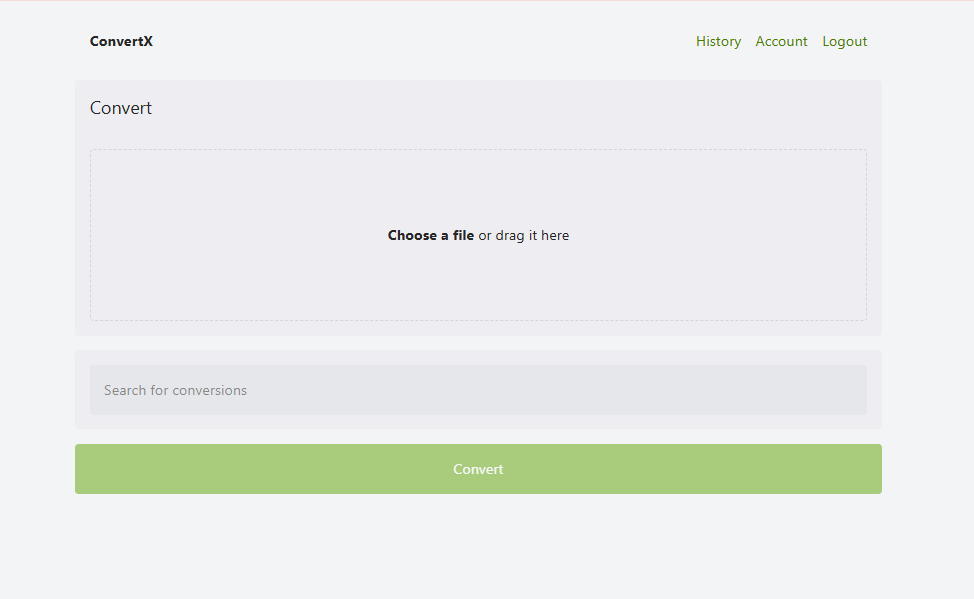
Figure 2: The main ConvertX self-hosted file and utility management application workspace.
3. Review Functional Extension Configurations
Navigate through the system layout menus to explore automated conversion options, operational extension integrations, and customized text transformation variables.
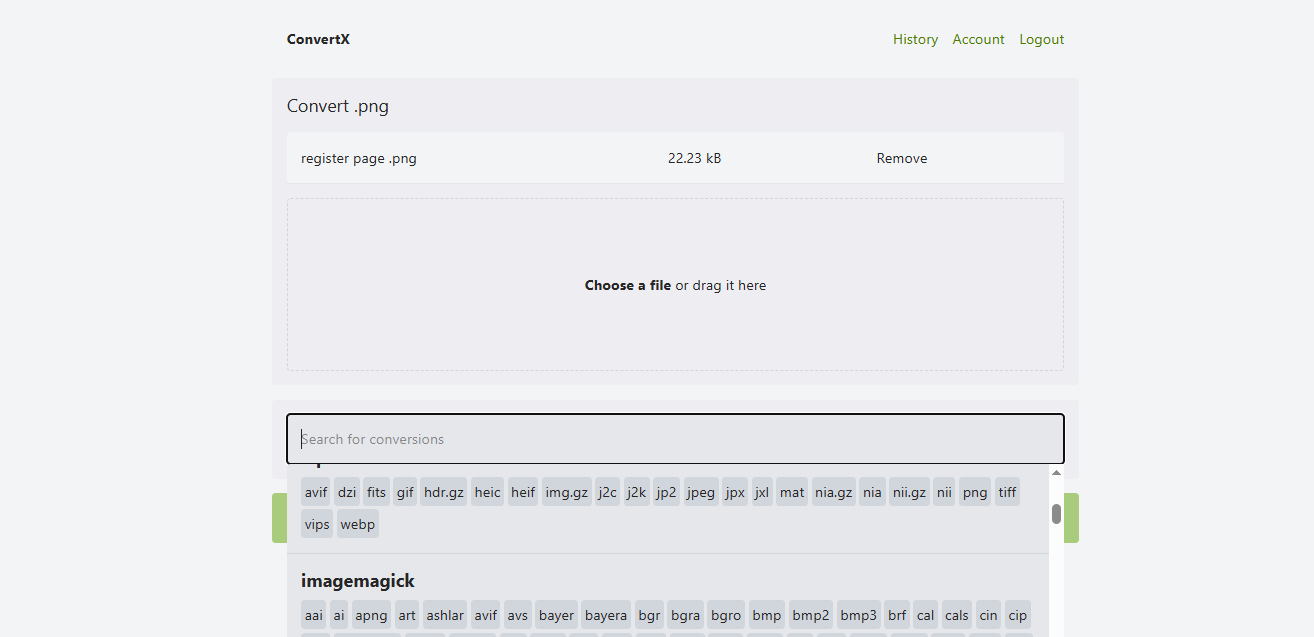
Figure 3: Configuring tool definitions and application processing properties.
Core Container Administration Commands
Manage your application engine deployment directly from your server command terminal using these pre-configured utilities:
-
Stream Live Production Container Logging Outputs:
docker compose -f /opt/convertx/docker-compose.yml logs -f -
Gracefully Cycle Component Daemons:
docker compose -f /opt/convertx/docker-compose.yml restart -
Perform an Automated Core Software Update:
docker compose -f /opt/convertx/docker-compose.yml pull && \
docker compose -f /opt/convertx/docker-compose.yml up -d
Step 3: Production Configuration & DNS Mapping
Before processing large files or hooking external automated processes into your server, perform these two validation steps:
1. Configure Domain Name Mapping
Access your third-party Domain Name Registrar management system and configure a clean DNS A-Record routing your production web hostname (e.g., tools.yourdomain.com) directly to your public server IP address.
2. Enable SSL Encryption Integration (HTTPS)
Secure your file processing, user sessions, and private document data by provisioning Let's Encrypt certificates directly inside your host console shell terminal:
# Pull current server package lists
apt update

# Deploy the local reverse-proxy Certbot helper script
apt install certbot python3-certbot-nginx -y

# Compile and bind certificates instantly
certbot --nginx -d tools.yourdomain.com
3. Erase Plaintext Setup Records
Once all initial admin configurations are completed and passwords are saved to a secure workspace password manager, permanently erase your installation text file from the disk to eliminate plaintext access records on your root node:
shred -u /root/credential.txt
Need Production or Structural Assistance?
If you require support with configuring large temp-file retention cleanup policies, expanding persistent storage boundaries, or tuning computing cores for heavy batch media rendering workloads, our technical systems staff is available 24/7: