
Thank you for purchasing the Metabase Deployment stack from the HostGraber Marketplace!
This product delivers a fully pre-installed, high-performance Metabase business intelligence and analytics platform running inside an optimized Ubuntu Docker infrastructure. Metabase allows your team to query data, build beautiful dashboards, and generate automated company reports without writing complex SQL code. Backed by an isolated PostgreSQL 16 application database to store system metrics, your instance is operational and ready for its first-run configuration immediately upon delivery.
What You Can Do with This Stack
-
No-Code Data Exploration: Allow any team member to ask questions and filter data using a visual drag-and-drop query builder.
-
Stunning Visual Dashboards: Combine interactive charts, maps, progress bars, and operational funnels into shareable views.
-
Native Database Connectors: Stream metrics instantly from PostgreSQL, MySQL, SQL Server, BigQuery, Snowflake, and more.
-
Automated Delivery (X-Rays & Alerts): Generate instant metrics overviews on new tables or push reports directly into Slack, email, or webhooks.
Step 1: Locate Your Deployment Details
Upon order completion, HostGraber automatically provisions your secure container environment.
To view your specific deployment access paths and authentication metrics at any time, connect to your server via SSH and read the onboard identity file:
cat /root/credential.txt
Your system terminal will output your dedicated setup metrics cleanly:
================================================================
  METABASE DEPLOYMENT - CREDENTIALS
================================================================
  Server IP : <YOUR_SERVER_IP>
  Domain    : <YOUR_SERVER_IP>
  App URL   : http://<YOUR_SERVER_IP>
================================================================
Step 2: Complete Your First-Run Setup Wizard
1. Launch the Onboarding Process
Open your web browser and navigate directly to your assigned instance web address: http://<YOUR_SERVER_IP>. Click the Let's go button to initiate the system onboarding wizard.
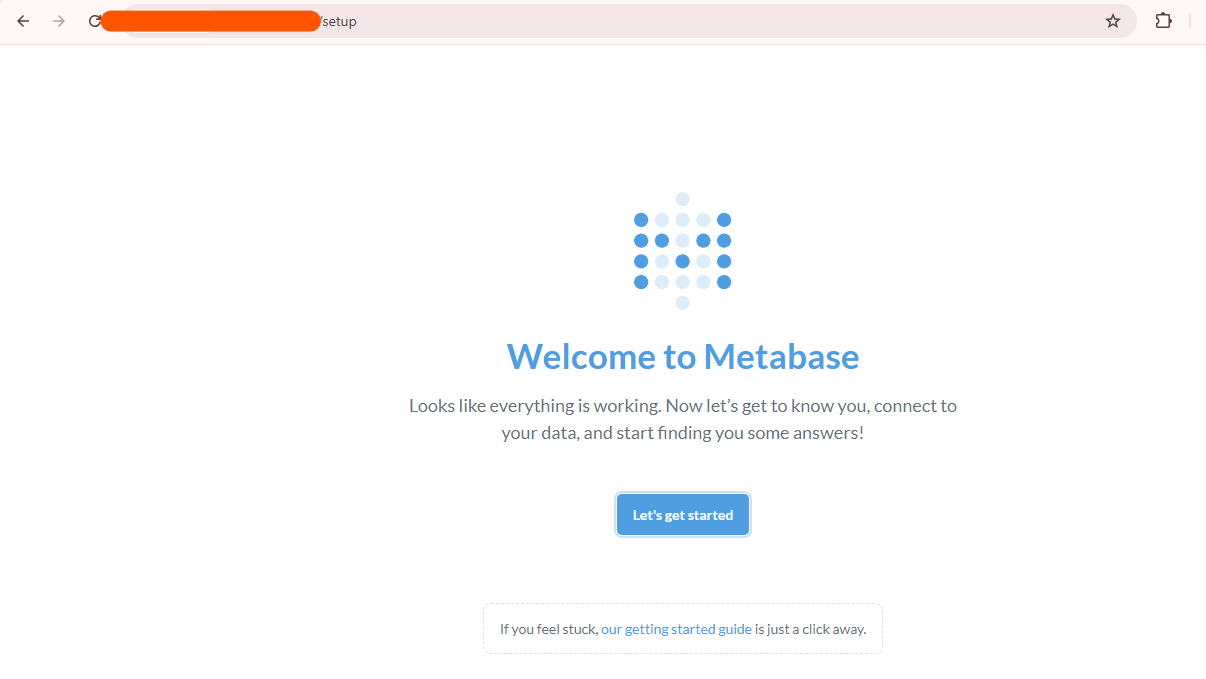
Figure 1: The Metabase system onboarding start view.
2. Choose Your System Language
Select your preferred default presentation language profile. This language layer controls the entire visual interface across your organization's user profiles.
Figure 2: Selecting your primary Metabase interface language.
3. Initialize Your Master Administrator Account
Provide your personal contact identity and build a highly secure, distinct root password string. This account will serve as the master administrator with access control over databases, security permissions, and user groups.
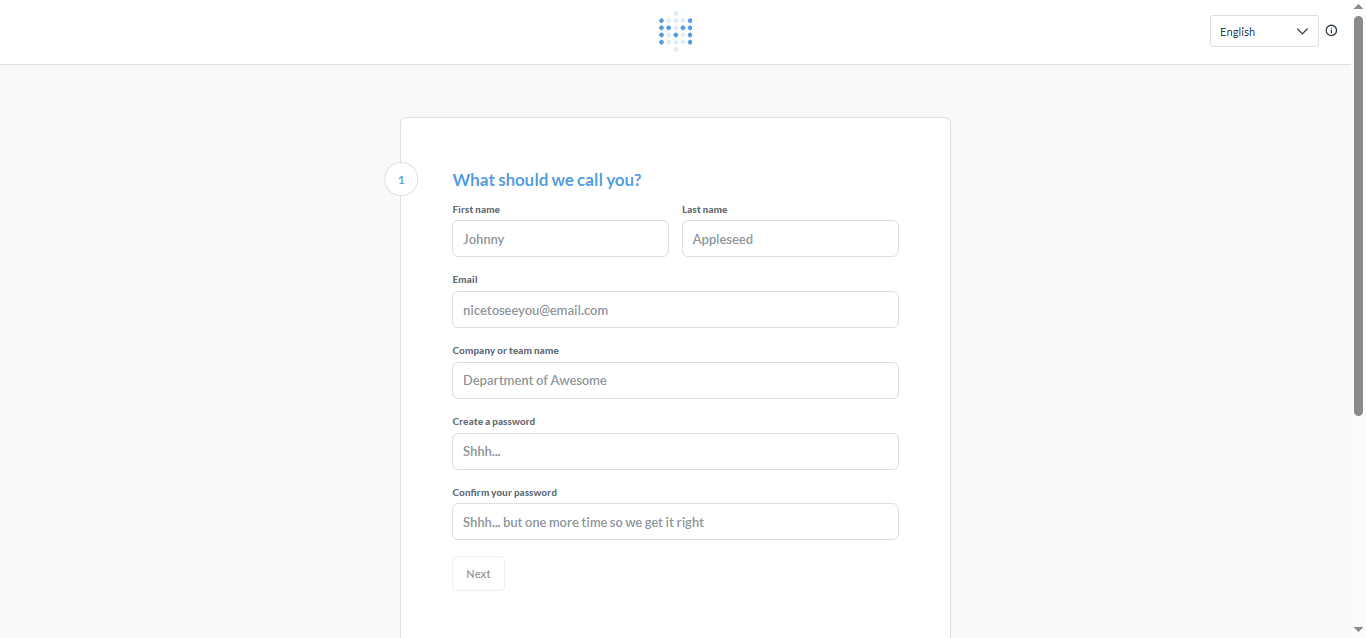
Figure 3: Registering your primary system administrator profile.
4. Connect Your Production Data Sources
Select your database engine type (e.g., PostgreSQL, MySQL, Redshift) and input your data credentials.
???? Core Infrastructure Tip: The internal PostgreSQL 16 database included with this server is purely dedicated to keeping track of your Metabase dashboard layouts, users, and saved questions. It does not ingest your company's records. You should link your external production or analytics data nodes right here. If you want to explore the platform first, click I'll add my data later.
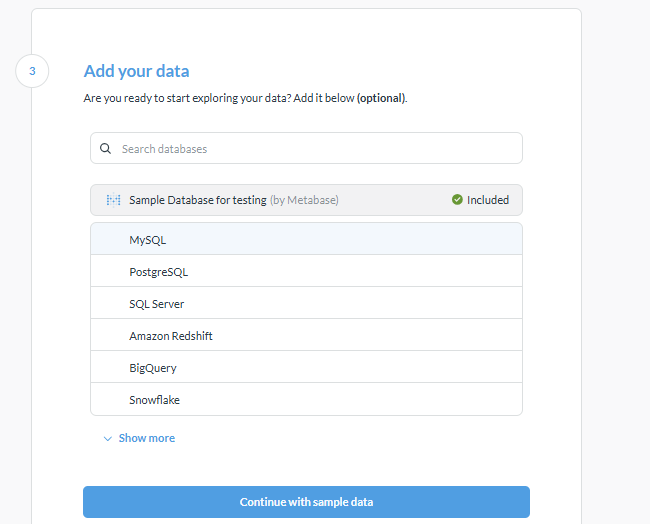
Figure 4: Linking your company's data sources to the analytics suite.
5. Configure Operational Usage Telemetry
Specify if you want to share anonymous runtime diagnostics with the Metabase open-source project to help guide future feature improvements.
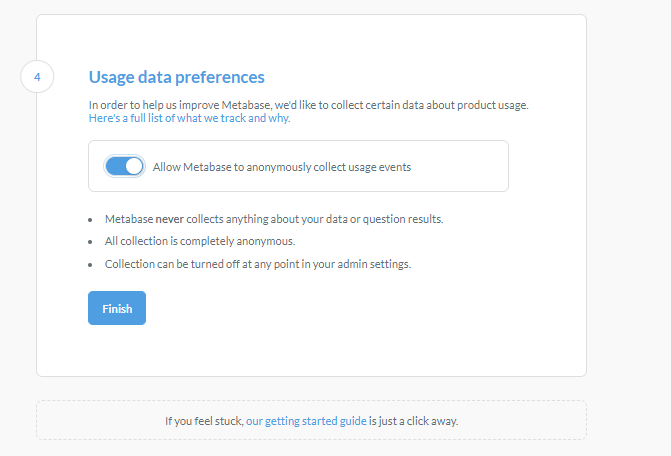
Figure 5: Setting your system usage telemetry parameters.
6. Access Your Core Business Intelligence Workspace
Once the wizard finishes processing, you will drop directly into your primary team workspace console layout. Your analytics engine is fully configured and ready to build metrics tables, track company KPIs, and design performance dashboards!
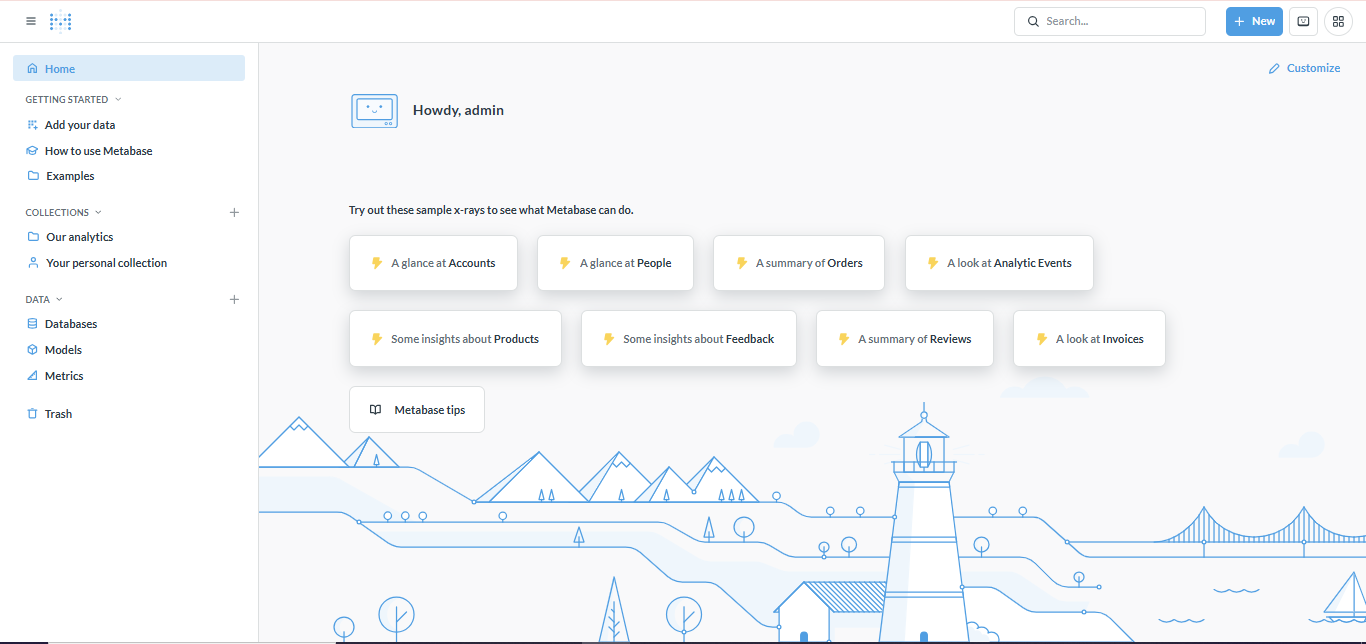
Figure 6: The production-ready Metabase data analytics dashboard view.
Core Container Administration Commands
Manage your application engine deployment directly from your server command terminal using these pre-configured utilities:
-
Stream Live Production Container Logging Outputs:
docker logs -f metabase -
Gracefully Cycle Component Daemons:
docker compose -f /opt/metabase/docker-compose.yml restart -
Verify System Container Cluster Status:
docker compose -f /opt/metabase/docker-compose.yml ps -
Perform an Automated Core Software Update:
docker compose -f /opt/metabase/docker-compose.yml pull && \
docker compose -f /opt/metabase/docker-compose.yml up -d
Step 3: Production Configuration & DNS Mapping
Before opening up your analytics platform to corporate data streams or your broader organizational team, complete these production security practices:
1. Configure Domain Name Mapping
Access your third-party Domain Name Registrar management system and configure a clean DNS A-Record routing your business subdomain (e.g., bi.yourdomain.com or analytics.yourdomain.com) directly to your public server IP address.
2. Enable SSL Encryption Integration (HTTPS)
Secure your queries, database login keys, and analytics sessions by provisioning Let's Encrypt certificates directly inside your host console shell terminal:
# Pull current server package lists
apt update

# Deploy the local reverse-proxy Certbot helper script
apt install certbot python3-certbot-nginx -y

# Compile and bind certificates instantly
certbot --nginx -d analytics.yourdomain.com
3. Update the Base Site URL Environment Variable
Once your domain routing and SSL configurations are actively handling web requests, register this new secure root destination inside your application configuration parameters so links and report dispatches format correctly:
# 1. Open and update your site URL environment file
nano /opt/metabase/.env

# 2. Modify the target variable string to match your domain format:
MB_SITE_URL=https://analytics.yourdomain.com

# 3. Reload your application cluster node using the new environment map
cd /opt/metabase && docker compose --env-file .env up -d
4. Erase Plaintext Setup Records
Once all initial administrative configurations are completed and passwords are saved to an external password manager, permanently erase your installation text file from the disk to eliminate plaintext access trails on your root node:
shred -u /root/credential.txt
Need Production or Structural Assistance?
If you require support with scaling memory limits for heavy dashboard reporting tasks, scheduling external automated backup tasks, or establishing Row-Level Security permissions for different internal teams, our technical systems staff is available 24/7: